
This was always going to be quite an easy sell, Nick is very passionate about the Spanish Civil War and has loads of figures and terrain painted. So, yesterday evening at the White Hart I gave him a try out with Chain of Command using the fantastic Spanish Civil War supplement.
I suggested to Nick that as it was his first game he should use the Moroccan Regulares and I would use the Trades Union Militia and we would play the Patrol scenario.
Nicks starting force was:
- Tenete (Senior Leader), Sergento Primero, two Riflemen
- Two sections each: Sergento (Junior Leader), one team of a two-man LMG crew and three Riflemen, two teams of six Riflemen with Grenades.
My starter was:
- Jefe (Superior Junior Leader)
- Four sections each of ten Milicianos with Rifles.
Given the huge disparity in quality I filled the gap by adding:
- Bilbao Armoured Car
- 20 more Milicianos with Rifles
- An LMG
- A Senior Officer advisor
- Making the Milicianos Highly Motivated
- A section of Guardia Civil
We both rolled poorly for Force Morale the Milicianos starting on an 8 and the Regulares on a 9.
Rolling for support we got another three points each, I purchased a Flag and an Adjutant to stiffen the Milicianos, Nick opted for a 37mm PaK 36 anti-tank gun.

Nick took the first phase and was keen to get all his troops on the table, but I explained that he may want to keep some in reserve, especially the anti-tank gun as I had not yet committed my troops.
A road with a hedged boundary on either side bisected most of the table so we both advanced towards that with troops, while on my right I sent a section of Milicianos to try to take the taberna and hopefully flank the Moroccans.

Seeing my intention Nick quickly manoeuvred one team of Moroccans into the house and the fire-fight between six Moroccans in hard cover and fifteen green Milicianos in the open was only going to go one way.
The Bilbao started manoeuvring up the road towards the Nationalists, taking his chance Nick deployed the PaK and the first hit stunned the crew and they were unable to act next phase, unable to manoeuvre in their own phase the Nationalists then 'double-sixed' first a shot from the PaK forced the crew to abandon the armoured car then the Sergento Primero led a bayonet charge to despatch the crew.
In the centre both sides crept up to their respective sides of the hedge and a brisk fire-fight ensued. The Jefe joined the fight to keep the Milicianos motivated but was hit twice, first knocking him to the ground and the second killing him stone dead. Soon the Milicianos were running to the rear while the Adjutant ordered replacements to close the gap.

The Republican morale was by now collapsing, this was compounded when the Regulares that had bayoneted the armoured car crew also captured a Republican jump-off point and used a Chain of Command dice to end the turn.

Despite committing the Guardia Civil to the fight it was pretty much over for the Republicans and they only managed to salvage a little honour by wiping out a team of Regulares in a brisk hand-to-hand fight before their own morale collapsed and it was game over.

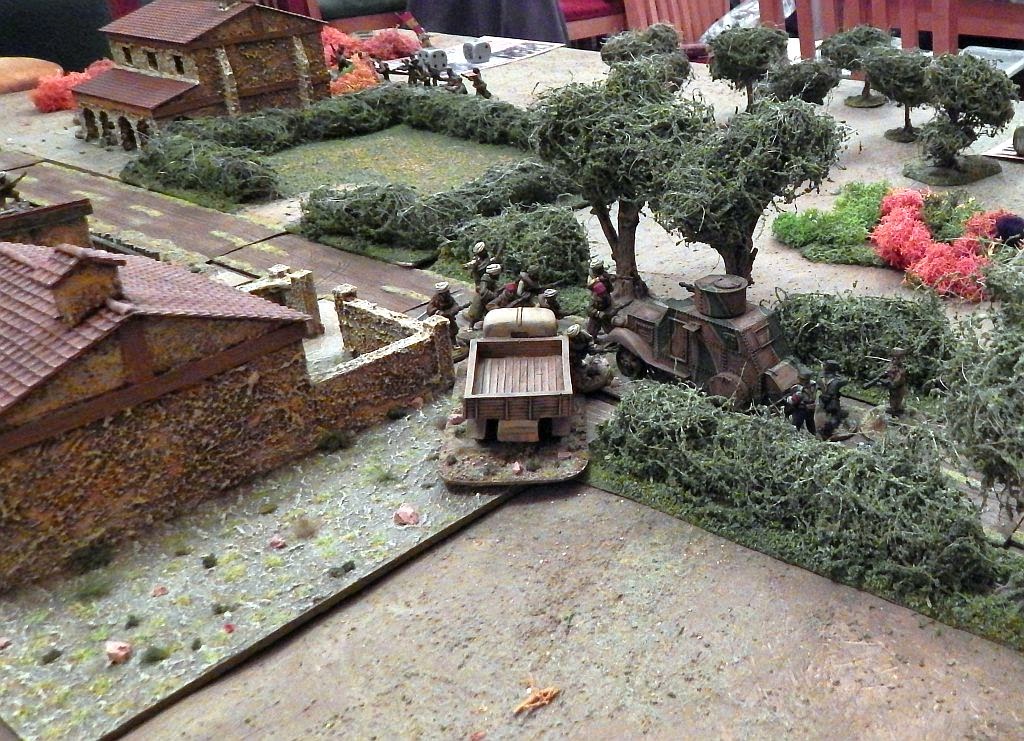
You'll note from the photos that I have started to use some of the 'team' bases from Warbases, these certainly make movement a lot easier.
All the figures and terrain are from my own collection, mainly Empress Miniatures with some Force of Arms.
No comments:
Post a Comment