Copyright © 2011-2026, Paul Scrivens-Smith

Copyright © 2011-2026, Paul Scrivens-Smith

All rights reserved. This work may not be reproduced, in whole or in part, without the prior written permission of the creator.

Showing posts with label Fire and Fury. Show all posts

Sunday, 5 March 2017

The Battle of Sessions Hill - 1863


We played this game a few weeks ago and what with other commitments I've not had the opportunity to write up a report.

Last time we played Black Powder, this time we would be using that old favourite, Fire & Fury I picked a couple of fictitious armies randomising if exceptional leaders, number of batteries, crack, etc,

Confederates

I Corps - Paterson
Klein's Division: Montgomery (Cav) 8/5/3, Dewar (Cav) 8/5/3
Howell's Division: Partridge 5/4/3, Bright 8/7/5, Plamer E4/3/2, Jones 8/6/4,  two batteries
Smith's Division: Brown 8/6/4, White 7/5/4, Vendell 8/5/3, one battery

II Corps - Barlow
McKenzies Division: Whitworth 7/5/4, Drury 4/3/2, Taft E8/5/3, Howard 8/6/4, two batteries
Hunt's Division: Braun 8/7/5, Pound 8/6/4, Keilty 12/8/5, Baxter 12/10/7, two batteries

Union

I Corps - Pedersen, two batteries
Renton's (E) Division: Bingley (Cav) E7/6/4, Cox (Cav) E5/4/3
Bailey's Division: Williamson 12/9/6, Hatch 10/8/5, Stephens 9/7/5, Coren 4/3/2, Wilkes E4/3/2

III Corps - Browning (E), three batteries
Clansen's Divison: Lawrence 8/6/4, Curry 8/6/4, Parkes 5/4/3, Phillips 4/3/2
Hartley's Division: O'Hare 8/5/3, Curle E8/5/3, Cornwall 8/6/4

IV Corps - Packham, two batteries
Sturridges (E) Division: Hopton 9/8/5, Parr 8/6/4, Hanson 9/7/5
Carr's Division: Palmer 9/7/5, Fisher 4/3/2, Banks 11/7/5

The forces were arrayed as follows, Renton's cavalry was on table, but just out of shot. Browning's III Corps were off table and would not arrive until after an hour (two complete turns)


It was decided that Drew would play the Union commander, myself and Bruce the Rebels.

Now it was three weeks ago now and my memory of the game is a bit sketchy, (fortunately I had a list of the units and a sketch match of the initial deployments.

Bruce and I's plan was to hold the flanks and drive Smiths and Hunts divisions through the Union centre. Hunts especially is a big force with two very large units of 12 stands.


In the initial artillery duel the Confederate artillery did very well, driving back and/or damaging most of the Union batteries. As to the execution of the plan, Baileys Federals were able to easily drive Howells force back out of the farmstead on our left, while Sturridge's divison extended into the wooded hill to their left and were soon outflanking McKenzie's division.

With their left flank exposed Smith was unable to support Hunt as he had to use his own troops and Klein's horse to prevent a total rout on the left.

As Hunts brigade fell on the Union centre Brownings Corps arrived in time to secure the line. The farthest Confederate advance was by troops of McKenzies division who managed to push back the Union line to the left of the farmhouse and fall upon Clansen's arriving troops before being driven back by Sturridge's flanking force and the newly arrived III Corps artillery.


By the end of the game, both sides had lost a similar amount of troops, but with their attacks in the headway able to male headway and their flanks being driven in the Confederates would quit the field and leave the Union troops in possession.

Drew decied to call this the Battle of Sessions Hill as Jeff Sessions position had just been confirmed, it looks like my delay in writing this may coincide with his position looking about as tenable as the Confederate one at the end of our game - there is a little political diversion for you :)

More pictures from the game below.


Sunday, 5 February 2017

ACW Reinforcements(2)


Following on from the last update I've been working away at the 6mm ACW collection. When I say 6mm that's nominal, these Adler Miniatures are closer to 8mm, but the sculpting is lovely and I don't plan to mix them with any other ranges.

All are done from a primer of black, the detail is blocked in and then finished with a wash of Windsor & Newton peat brown ink. You can really churn them out using this method.

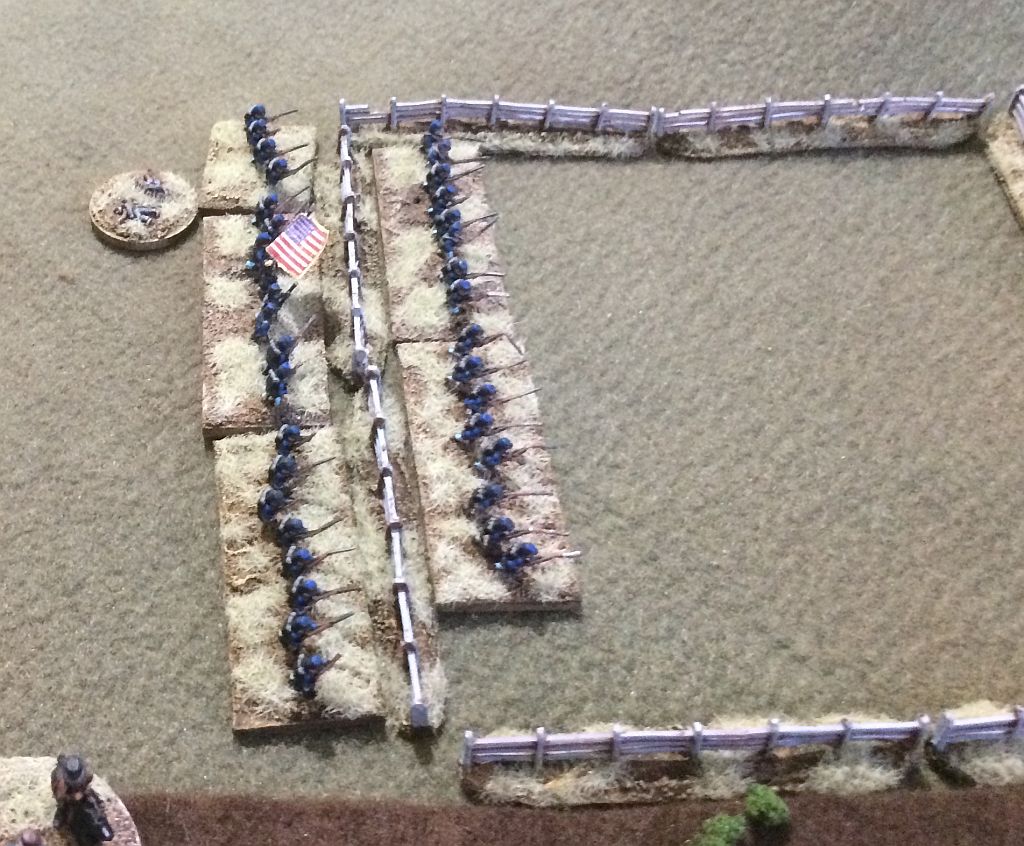
I've added two units of Union infantry plus some more casualty markers.

The first unit is advancing in kepi with blanket rolls.


The second in kepi with backpacks, likewise advancing.


I've also added a dozen more casualties, a few of them mounted on doubles this time to represent two casualties on a unit.


Sunday, 29 January 2017

ACW Reinforcements


Checking the blog it was November 2013 when I last painted any figures for the 6mm ACW collection, but enthused by last weeks game I went to the bottom of the lead mountain and pulled out a great big bag of American Civil War figures from Adler Miniatures.

Fortunately, there was quite a bit already cleaned up and as an extra bonus 24 cavalry and 17 dismounted cavalry were already covered in primer so I set to to these first.

The first batch I painted was five bases of dismounted Confederate cavalry, we had been a little short of these in the last game. I'd forgotten how easy these chaps are to paint, I just block in the colours and give them a wash with Windsor and Newton Peat Brown ink then they are ready for basing.


Into the swing of things another dozen Confederate cavalry were soon completed.


Then a dozen Union cavalry. This lot did have a standard bearer, but the metal that Adler uses is quite soft and most of the time bends and can be straightened up, this one was bent beyond repair though, likely due to my poor packing before the transatlantic crossing we made in April.


Talking of the flags, the standards are from Warflags scaled down to size and attached with PVA glue.

Finally I'd noted that I seem to have a lot of Confederate command stands but could have done with more infantry figures so another 48 were quickly added.


I've been cleaning up some more figures rescued from the bag and you should see more infantry regiments added this week. I also purchased a second deck of Longstreet cards from Drivethru that arrived yesterday.

More American Civil War goodness is in the pipeline!


Friday, 3 July 2015

The Battle of Newmarket


On Tuesday evening Martin and I played the Battle of Newmarket Fire and Fury scenario.

We randomised and Martin took the Union troops while I had the Confederates. Martin began the slow process of extracating his front line back to the north of  Bushong Farm while I maintained the momentum of the attack.


Due to some poor manouver rolls Martin had both the 123 Ohio and the 1st W. Virg. caught and severely depleted along with Ewing's Battery. However it did not all go my way, my battery overlooking the valley was damaged and driven off by Taylors cavalry.

Likewise my manouver rolls were shocking when trying to move my artillery. My infantry pushed on towards the new Union line formed north of  Bushong Farm but I only had a single battery of guns in support so suffered badly to the Union fire.


The Virginia Military Institute Cadets marched in good order right to the new Union position and were duly destroyed by a fusillade of fire.

On the final Confederate turn at 15:00 I managed to launch a charge at the western end of the line that swept away the Union defenders and the breakthrough allowed three units to move north of the farm giving a very minor Confederate victory.


Some truly terrible photos taken before the phone battery finally expired.