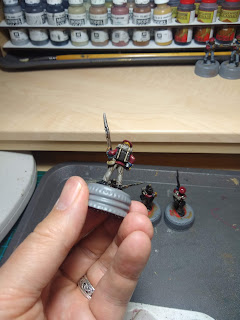
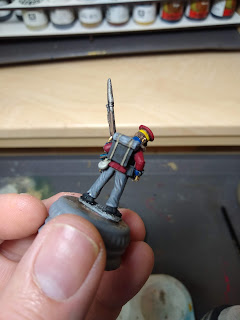
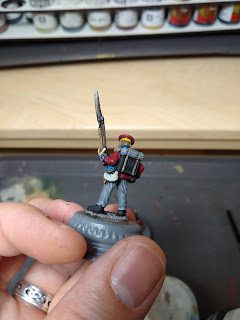
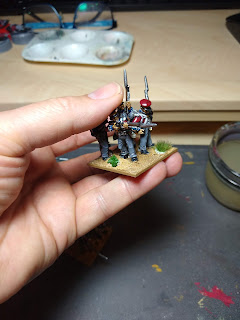
I've been asked a few times what colours I use, so, I've put together a step-by-step of how I paint my red coats. In this guide I'll concentrate on a Hanoverian Landwehr from
Front Rank, but the technique with a few tweaks can easily be used for British troops.
There are a lot of photos to follow, go grab a coffee or other beverage of choice.
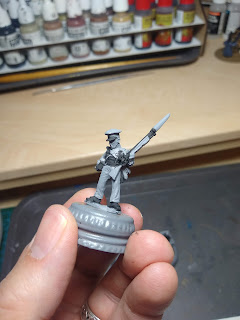
I clean up the models using a scalpel and a fine file, I'll begin from there:
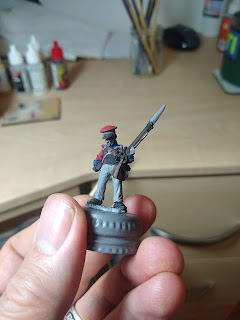
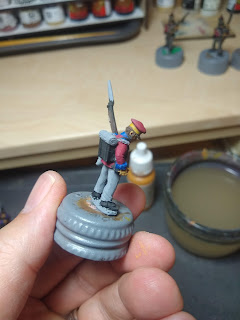
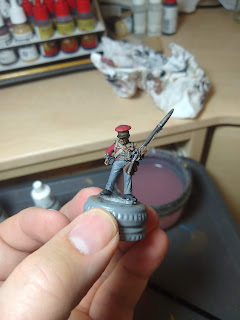
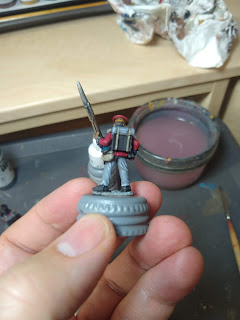
Basecoats
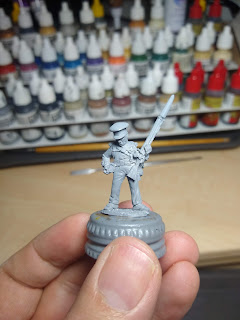 |
| Halfords grey car primer all over |
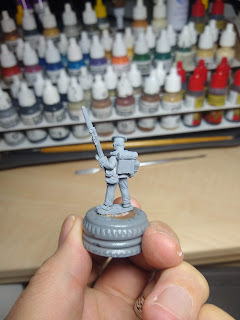 |
Halfords grey car primer all over
|
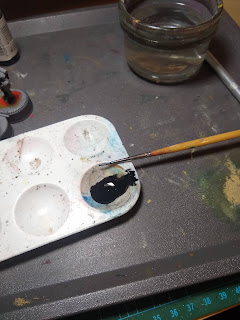 |
| VMC Black mixed about 1:1.5 with water and applied using a manky old brush |
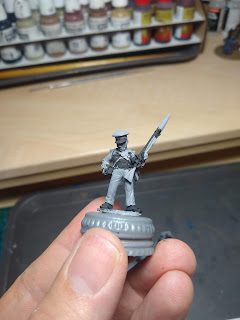 |
| Paint the gaiters and shoes |
 |
| Paint the backpack and cartridge pouch, paint the barrel of the musket and the bayonet socket and ramrod |
 |
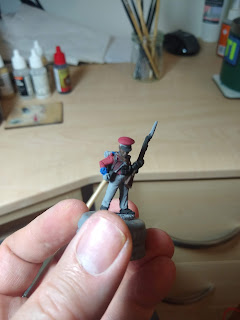
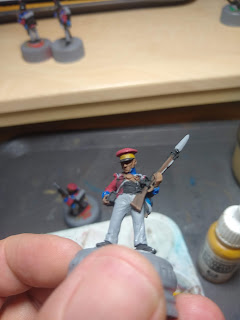
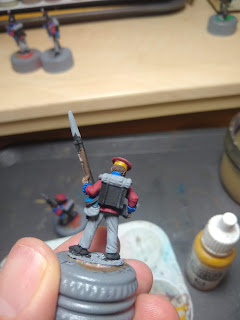
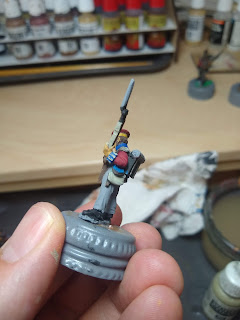
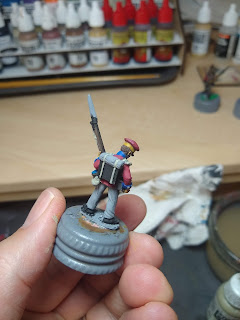
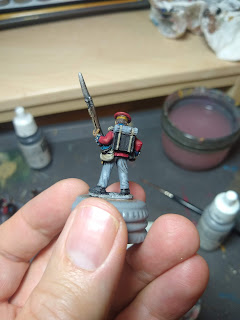
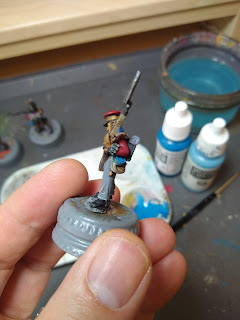
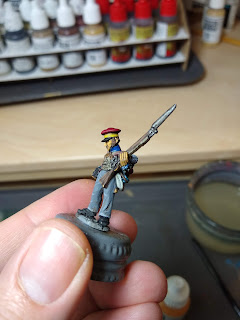
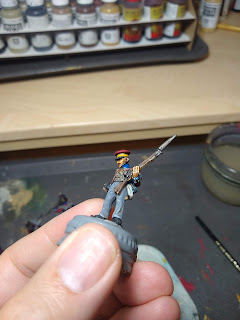
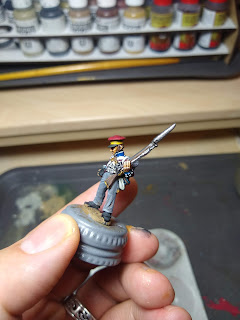
| Paint the peak of the hat (or entire shako), paint the scabbard also paint the front of the tunic around the buttons and lace and straps. Also paint any areas that are likely not to be seen, like under armpits etc. |
 |
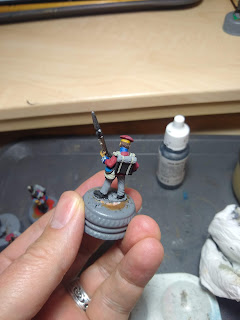
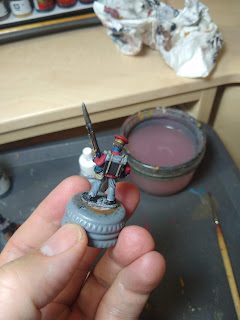
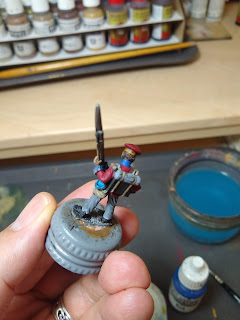
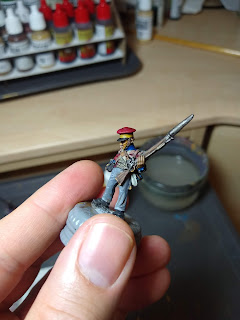
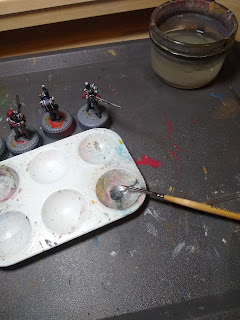
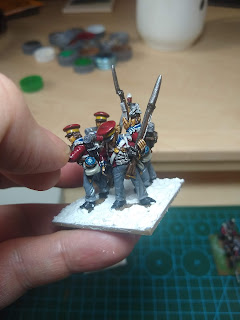
| I work on batches of four figures at a time |
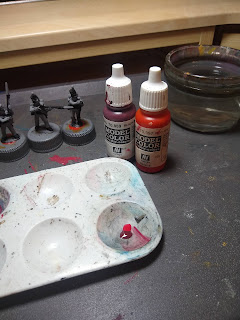 |
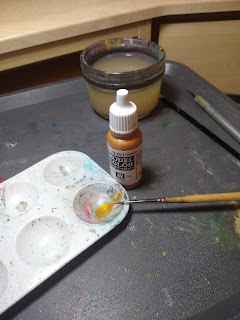
| Mix about 1:1 of VMC Black Red and VMC Flat Red |
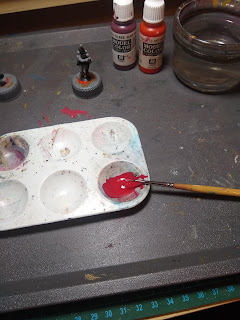 |
| Add water at about 3:1:1 to the mix |
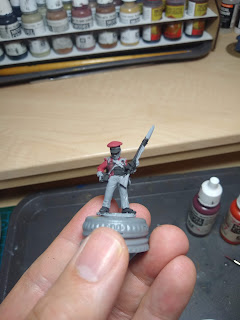 |
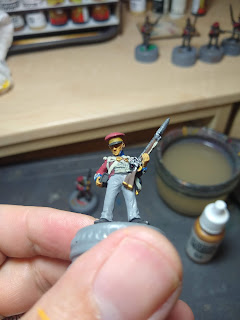
| Paint the Jacket and Landwehr cap |
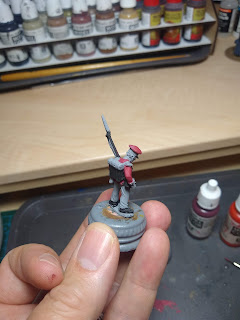 |
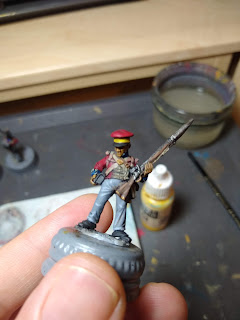
Paint the Jacket and Landwehr cap, don't be too precious in areas that are hidden
|
 |
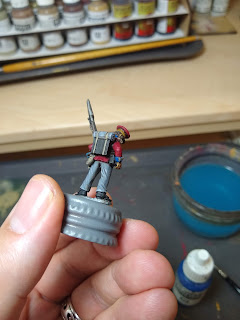
| Don't forget the coat tails |
 |
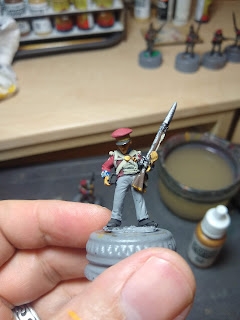
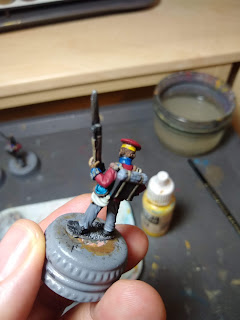
| For officers and sergeants the coat is painted just VMC Flat Red without any VMC Black Red added, the bottom of the plumes are also only VMC Flat Red |
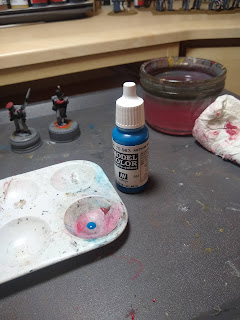 |
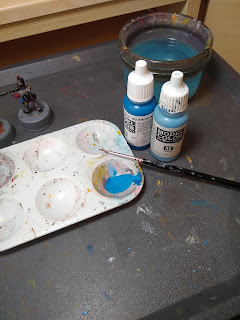
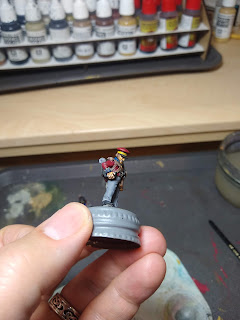
| Next is the VMC Medium Blue, water down a drop |
 |
| Paint the water bottles |
 |
| This regiment is in blue facings, for this I use VMC Royal Blue |
 |
| Paint the cuffs in the facing colour |
 |
| Paint the collar and shoulder straps in the facing colour |
 |
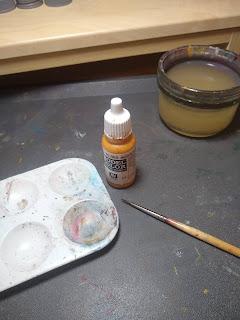
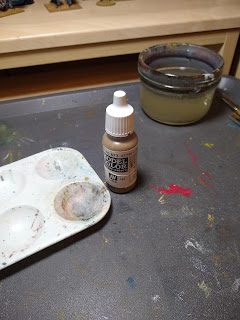
| Next is VMC Chocolate Brown for the Musket stock |
 |
| Water bottle strap |
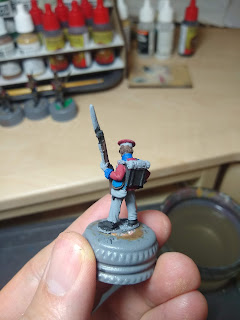 |
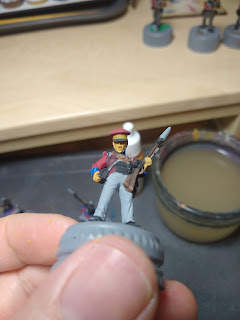
| And hair |
 |
| Pretty much everybody gets brown hair! |
 |
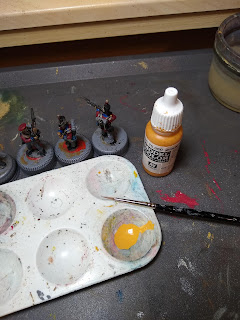
| Now VMC Brown beige, nothing is going to finish up this colour but it's a great basecoat for flesh, yellows, reds and brass |
 |
| Paint all the exposed flesh |
 |
| Anything that is going to be yellow |
 |
| And anything that is going to be brass |
 |
| Like the trigger guard, tip of the scabbard, musket butt plate and buckles. |
 |
| VMC Gold Brown over the earlier Beige Brown |
 |
| Just using this for the Landwehr cap band |
 |
| Would also use this if the unit had yellow facings |
 |
| VMC Medium Fleshtone to go over the earlier Beige Brown |
 |
| Paint the hands |
 |
| Paint the faces |
 |
| Don't forget the ears! |
 |
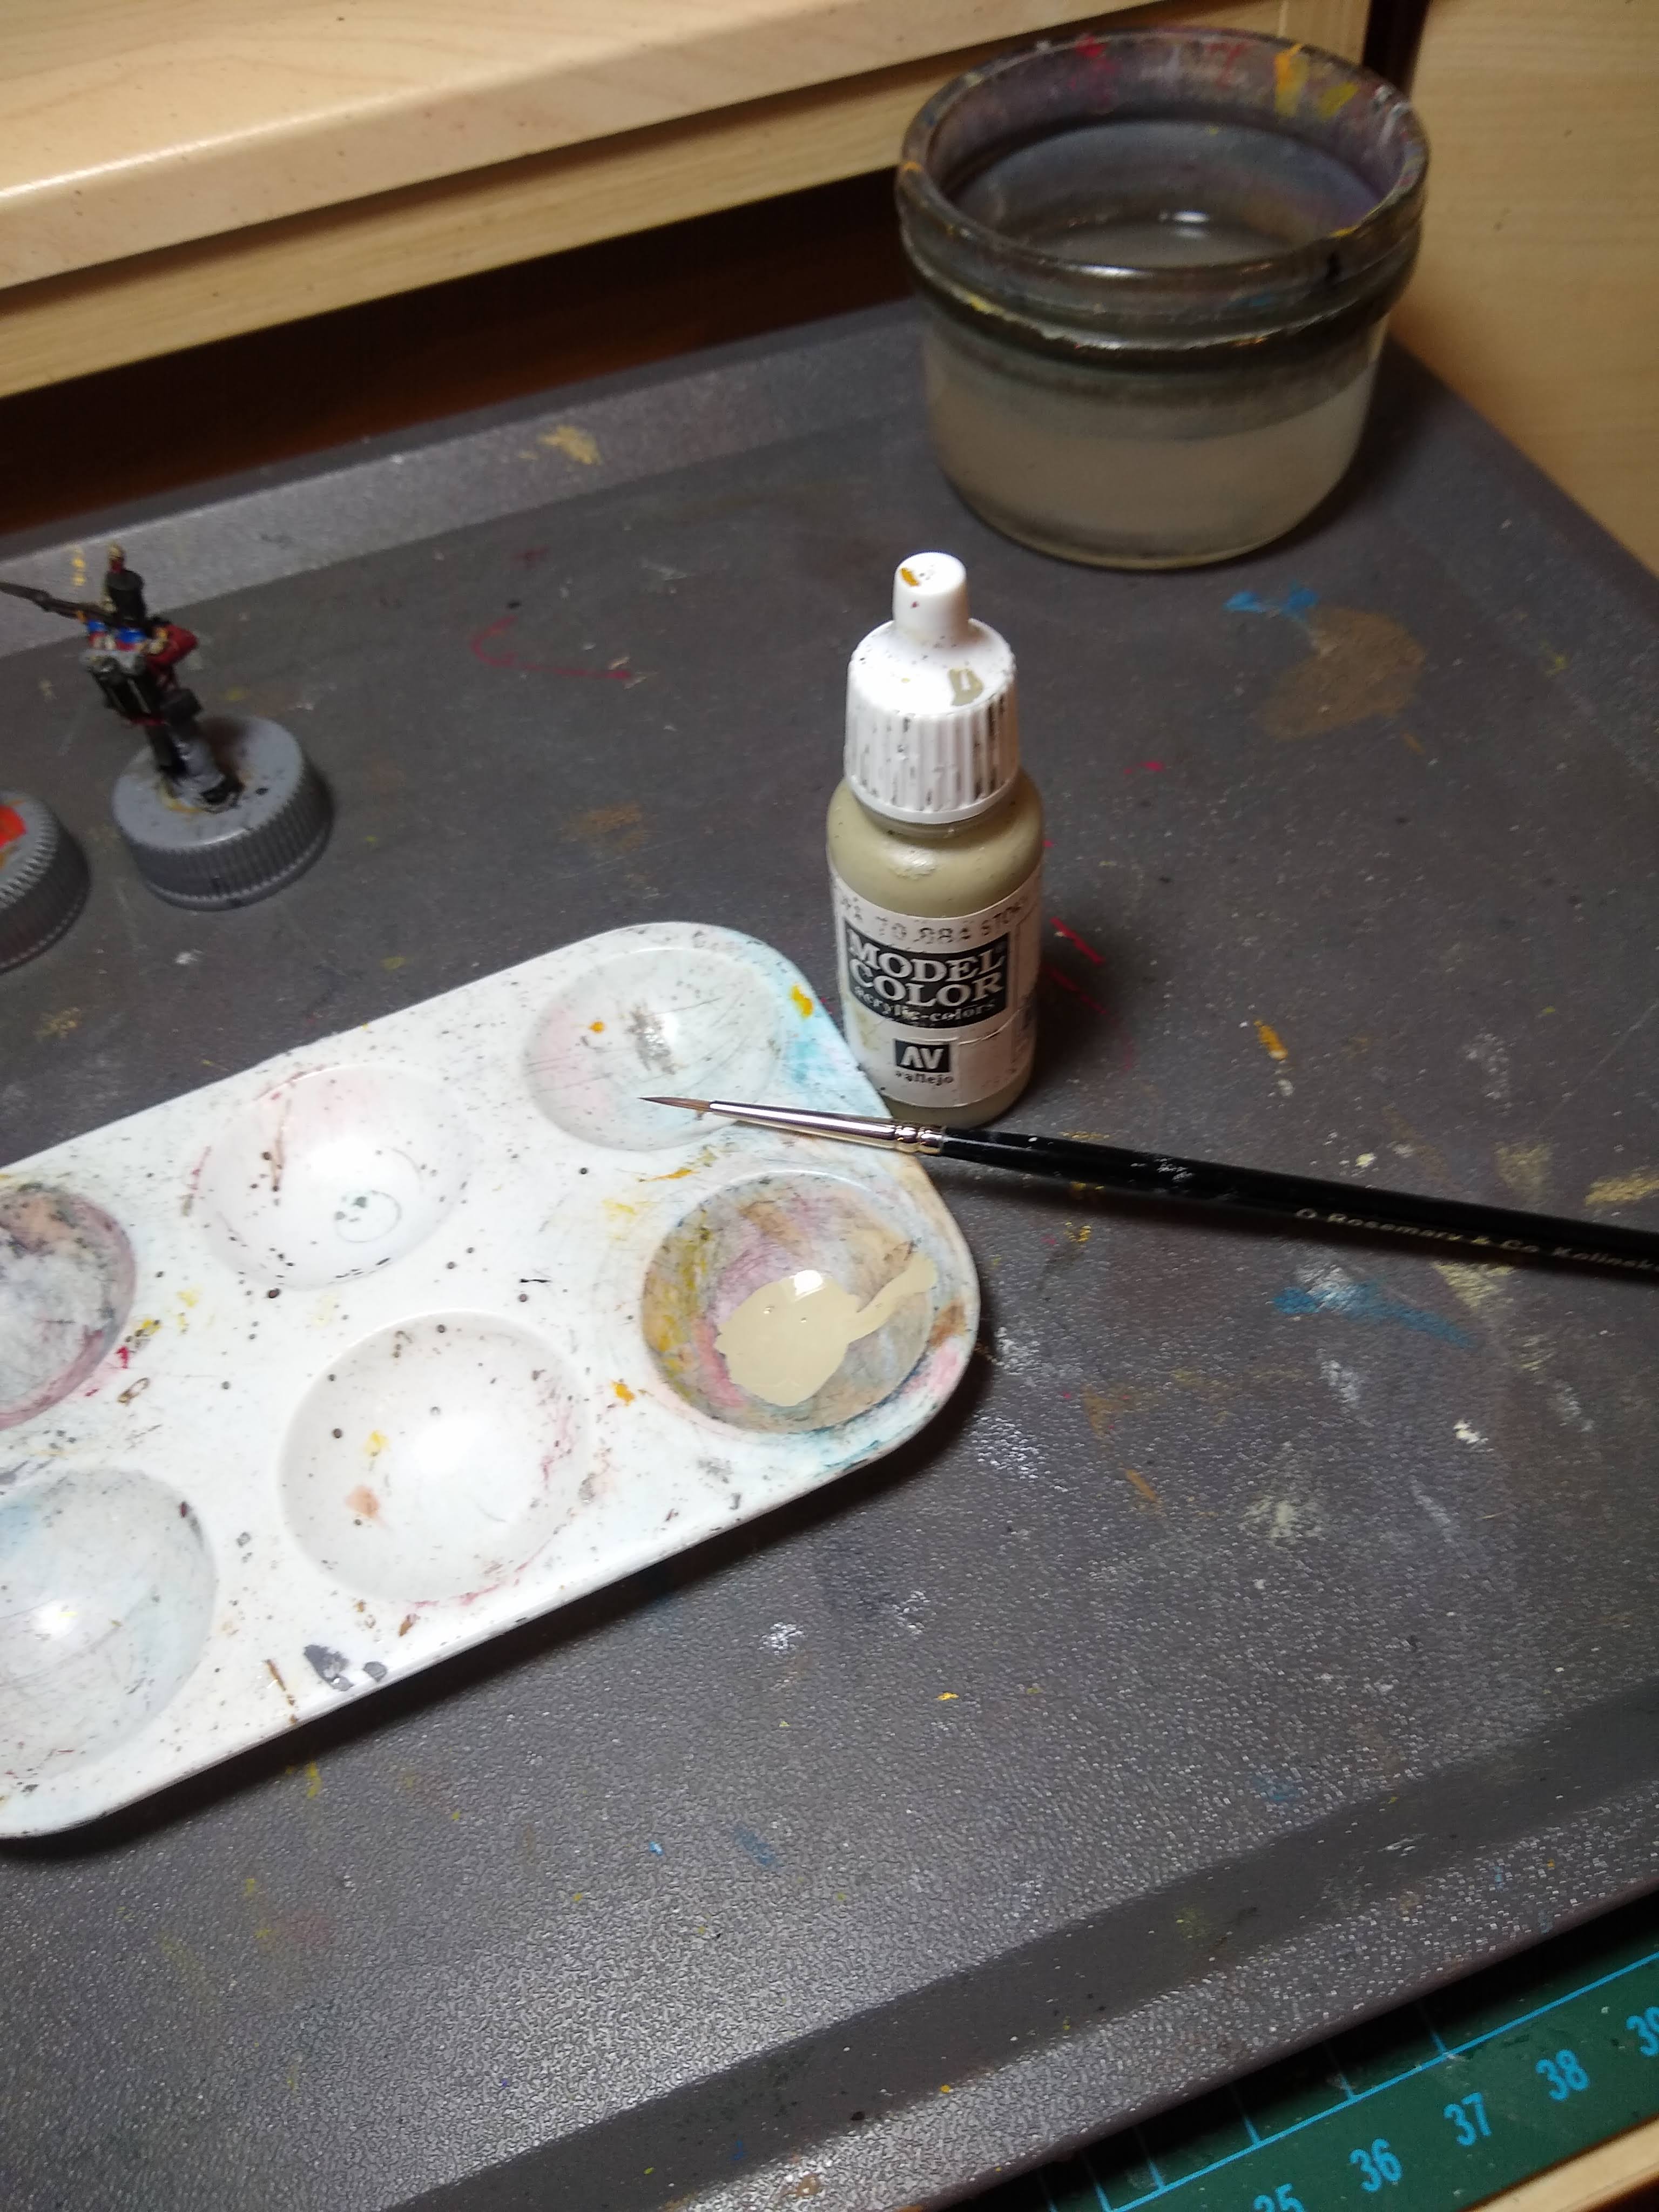
| VMC Stone Grey |
 |
| I use this as a base-coat for the knapsack and anything that is going to end up white on the finished model |
 |
| Paint the knapsack |
 |
| The knapsack is the only bit that will end up Stone Grey |
 |
| VMC Gunmetal Grey |
 |
| Paint the bayonet |
 |
| Paint the musket barrel and the flintlock |
 |
| VMC Brass |
 |
| Paint the musket butt plate and trigger guard |
 |
| The breast plate, any buckles |
 |
| Don't forget the tip of the scabbard! |
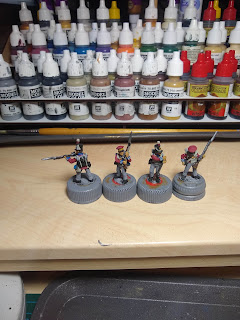 |
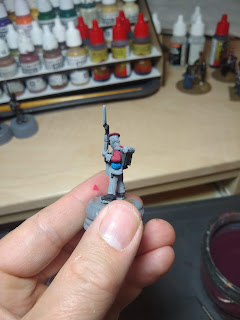
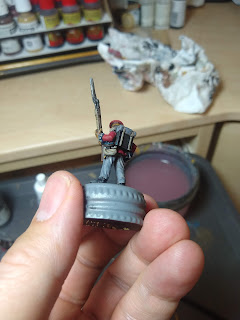
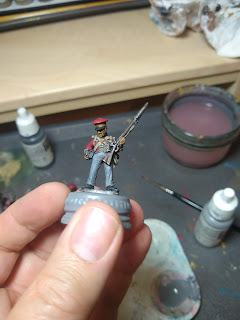
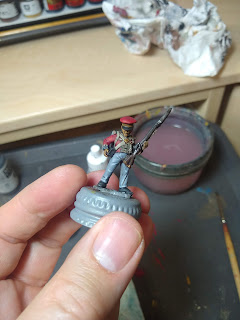
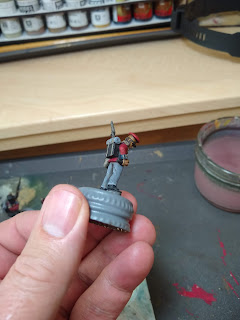
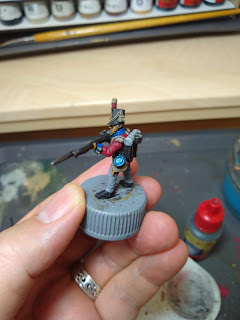
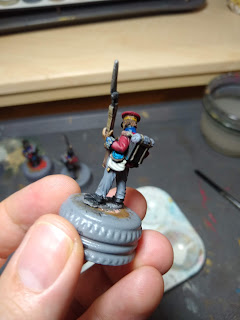
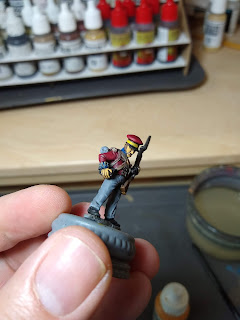
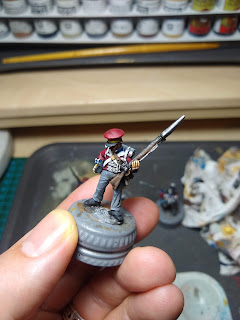
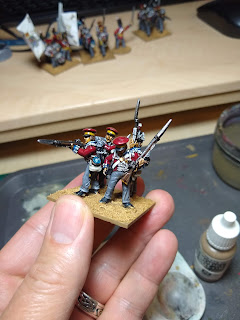
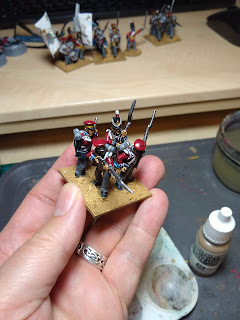
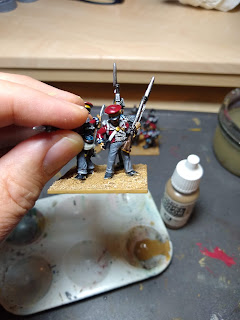
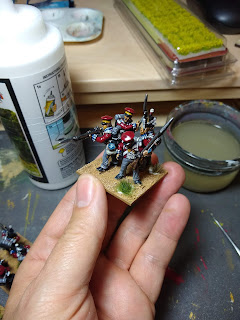
| My batch of figures now has the base-coats blocked in. Set an alarm for at least an hour! |
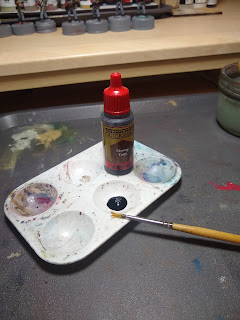 |
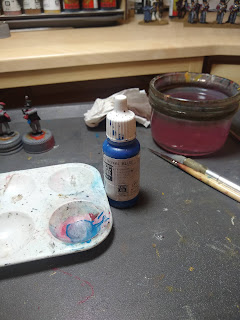
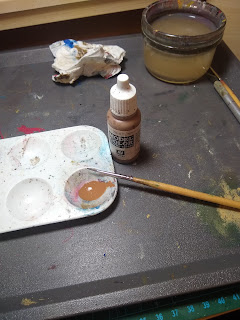
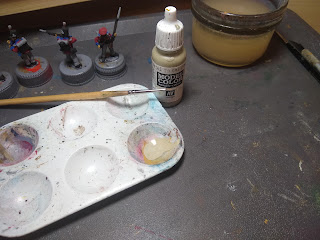
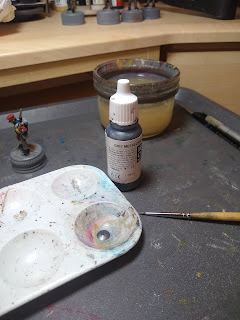
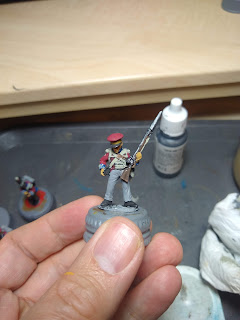
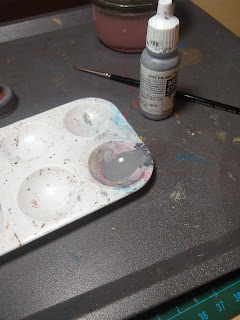
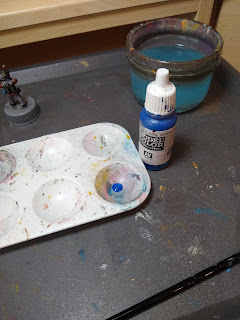
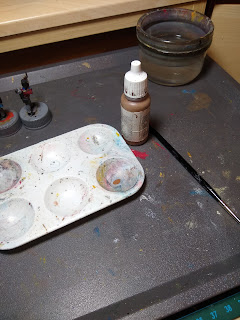
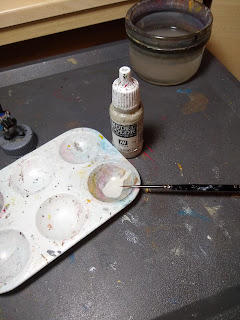
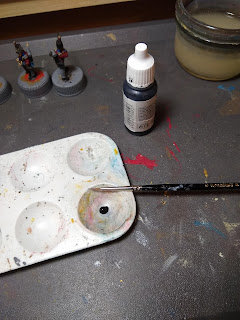
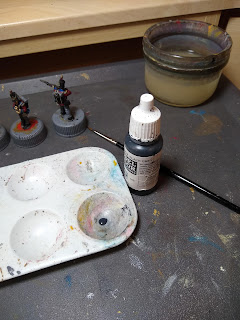
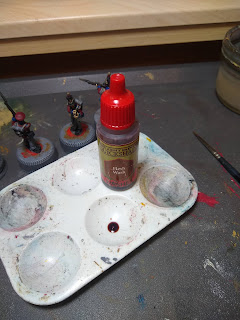
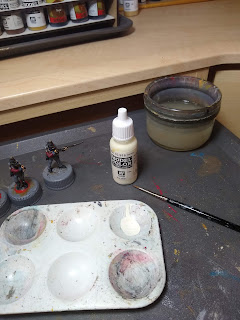
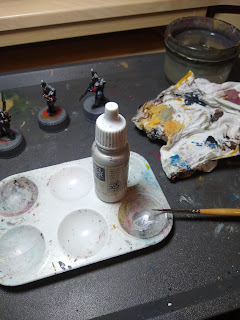
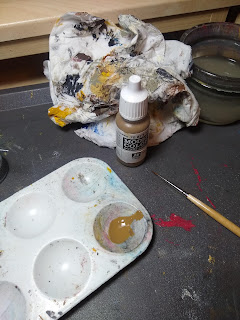
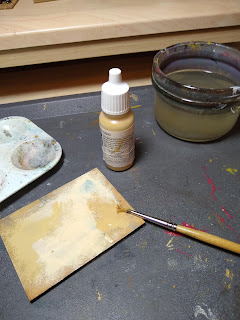
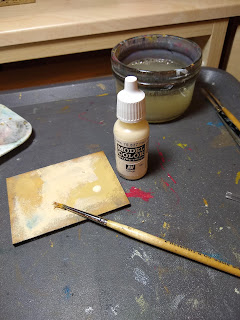
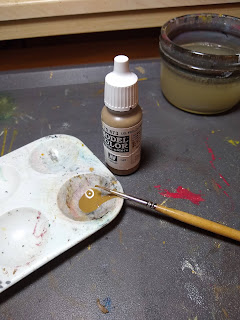
When the alarm goes off we can start on the wash, if we wash too soon we can mess up the base coats, nobody wants that Brass we painted last smeared all over the figure! For the wash I use AP Strong Tone
|
 |
| Be very liberal with the wash |
 |
Ensure that you push it into all the nooks and crannies.
At this stage, I usually leave my figures overnight for the Strong Tone to dry, but if you are in a hurry a couple of hours can suffice. |
Paul's tip: I always try to do the basecoat and washes on two batches of figures when I start a unit, then before you start doing the highlights on the first batch you do the basecoats on another while wait for the Strong Tone to dry, this way you are not wasting the drying time. For example if I was painting a 20 man unit in groups of four I would:
- Basecoat and wash batch 1
- Basecoat and wash batch 2
- Highlights batch 1
- Basecoat and wash batch 3
- Highlights batch 2
- Basecoat and wash batch 4
- Highlights batch 3
- Basecoat and wash batch 5
- Highlights batch 4
- Highlights batch 5
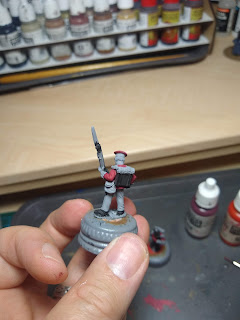
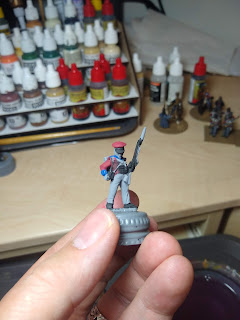
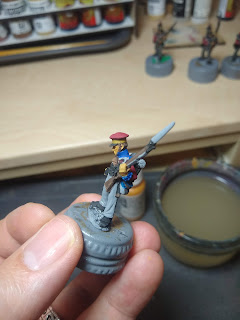
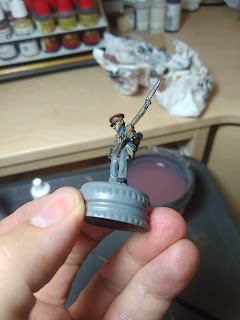
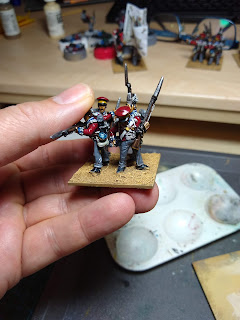
Highlights
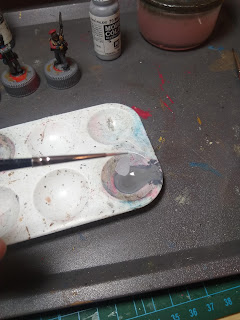
You'll see I use a less manky brush for this stage.
 |
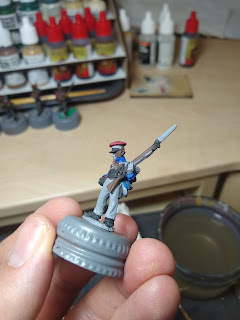
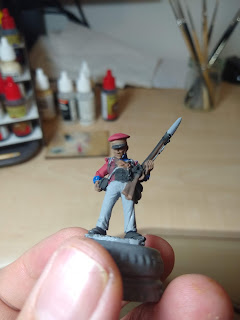
| Next, while we wait for the alarm, it's on to the greys, for this I use VMC Basalt Grey |
 |
| You'll recall in the first step we did not paint the greys, leaving them the base colour of the car primer. |
 |
| We now go over the figure, re colouring the grey of the trousers and the blanket roll with the Basalt Grey |
 |
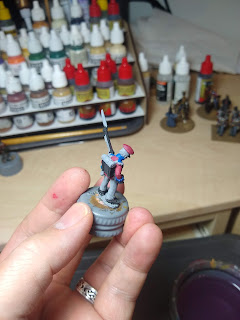
| Just like with the reds, leave some of the original washed base coat in place in the folds |
 |
| Now we add a touch of VMC Pale Grey to the mix |
 |
| Highlight the Basalt Grey with this lighter colour |
 |
| It will create quite a subtle highlight |
 |
| Next we take a thin glaze of VMC Pale Grey only |
 |
| This is applied around the bottom of the trousers and also to highlight any folds |
 |
| Likewise the blanket roll is highlighted with this |
 |
| I also pick out the knees of the trousers |
 |
| Again you'll get a feel of how much you should be adding |
 |
| I also add a little to the roll of the blanket roll. |
 |
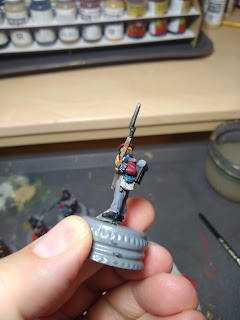
| If you grab a tea or coffee now, that 40 minute timer you set earlier should be ready to go off. |
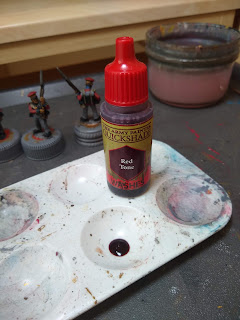 |
| We allow about 40 minutes before applying the AP Red Tone so that we don't muddy the highlights too much. |
 |
| Carefully apply the Red Tone to all the red areas of the figure |
 |
| Try not to get any on the greys that you just did |
 |
| Work the wash into the folds and crevices |
 |
| Also work it into the interfaces between reds and other colours |
 |
| You want to give it about 15 minutes before proceeding to allow the Red Tone to dry a little. |
 |
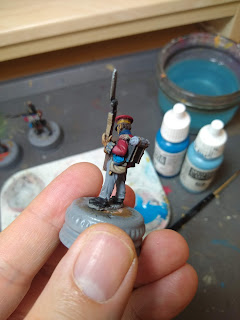
| The next step is to highlight the water bottle with the VMC Medium Blue. |
 |
| Taking the thinned Medium Blue repaint the water bottle leaving some of the washed basecoat in the detail. |
 |
| You want to ensure that any water bottle behind the strap is also painted. |
 |
| We next add some VMC Pastel Blue to the mix to make an ombre. |
 |
| Using the middle shade add your first highlight to the water bottle |
 |
| Now we take the lightest shade and highlight the panels |
Also highlight the rim.
 |
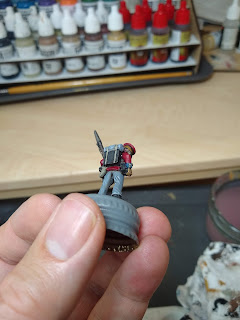
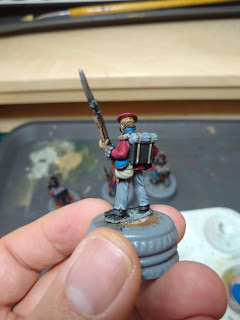
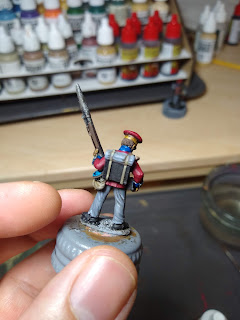
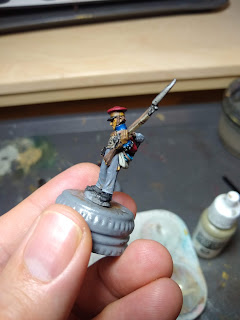
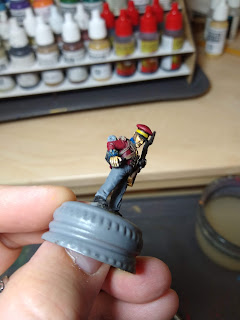
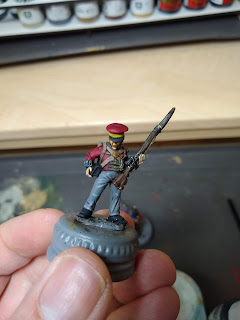
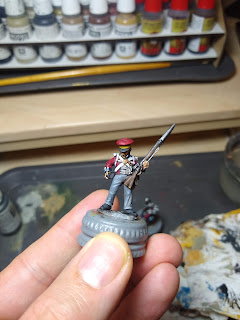
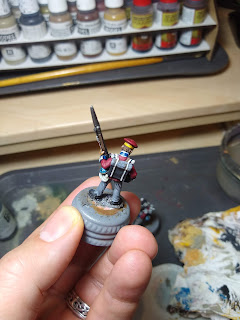
| The figure I'm using for the shots has quite an obscured water bottle, here is the effect you are after on another figure. |
 |
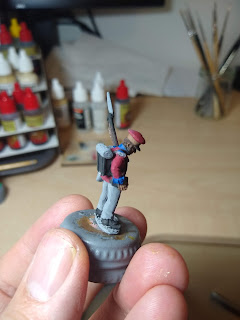
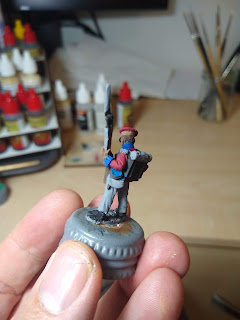
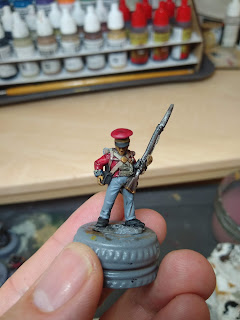
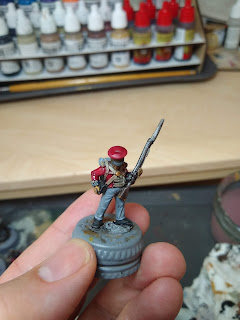
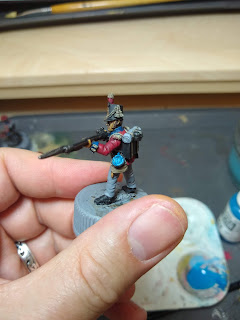
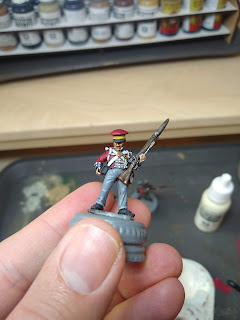
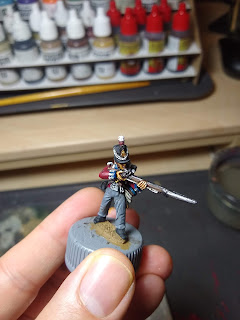
| Next we repaint the facings using our facing colour of VMC Royal Blue |
 |
| Leaving a bit of the washed basecoat showing you can highlight the collar |
 |
| Also wash the cuffs and water bottle |
 |
| Don't forget the shoulder straps |
 |
| Again set an alarm for about 40 minutes to let the blues dry. |
 |
| Once the blues have been allowed to dry it's time to add the AP Blue Tone |
 |
| All the blue areas are going to get a wash |
 |
| Work it into the cuffs |
 |
Do the collar and shoulder boards
|
 |
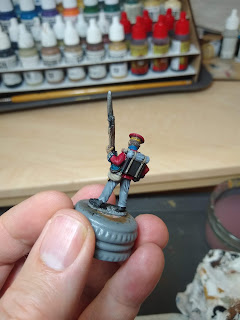
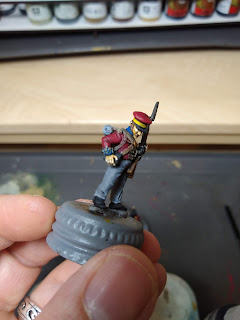
| Again, here is how we want the water bottle to look |
 |
| Next we highlight the VMC Chocolate Brown |
 |
| Remembering to leave a bit of the washed base-coat showing |
 |
| Highlight the musket stock |
 |
| Paint the hair |
 |
| Do the strap around the water bottle and across the body |
 |
| Thin down some VMC Beige Brown |
 |
| Paint some wood grain effect on the stock and highlight the water bottle strap |
 |
| Highlight the hair, this is where you decide if the figure gets dark brown or light brown hair |
 |
| The knapsack is going to be highlighted. First start with VMC Stone Grey |
 |
| Paint the knapsack |
 |
| Leave some of the washed basecoat showing |
 |
| VMC Deck Tan |
 |
| Highlight the knapsack with Deck Tan |
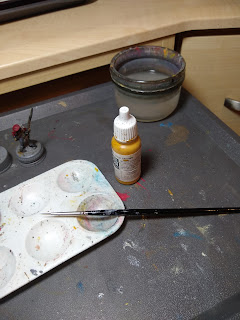 |
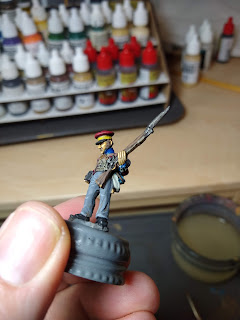
| Take the VMC Gold Brown |
 |
| Reapply the band to the Landwehr cap |
 |
| Make an ombre by adding some VMC Flat Yellow |
 |
| Work up the highlights on the cap band first with the middle shade |
 |
| Then a final highlight on the edge with the lightest shade |
 |
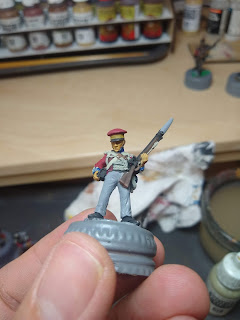
| Mix up a batch of VMC Medium Fleshtone |
 |
| Leaving a little of the original washed basecoat showing paint the hands |
 |
| Paint the face and ears |
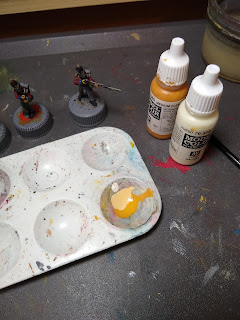 |
| Add some VMC Ivory to the mix |
 |
| Highlight the flesh on the hands |
 |
| Highlight the cheeks |
 |
| Highlight the chin |
 |
| Add a just touch of the flesh colour to the thinned Ivory |
 |
| Add a dab on the fingertips and knuckles |
 |
| Add a thin line under the eye socket |
 |
| Add a small dot to the tip of the ears. |
 |
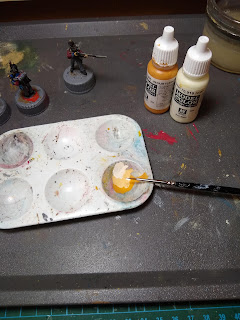
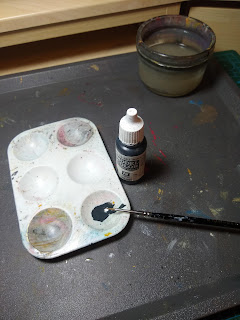
| Set a timer for 40 minutes for the flesh to dry and make a mix of VMC Black and water |
 |
| Go over any of the black areas, shoes and gaiters, etc. |
 |
| Do the cartridge box, backpack scabbard, shako etc. |
 |
| Mix up a glaze of VMC Black Grey |
 |
| Paint the gaiters |
 |
| Highlight the toes of the shoes |
 |
| Highlight the cartridge box |
 |
| Highlight the backpack |
 |
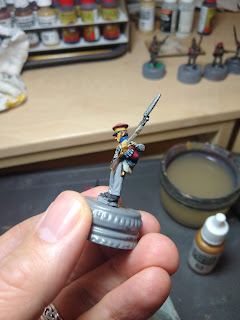
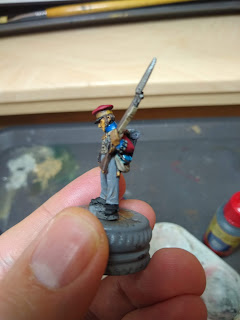
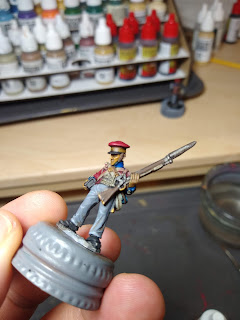
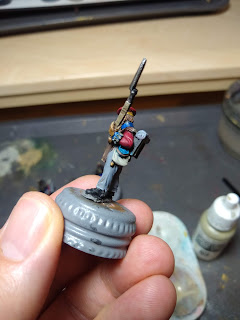
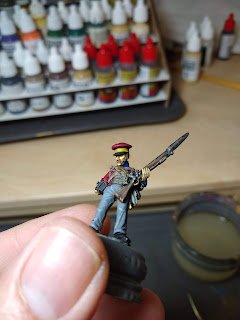
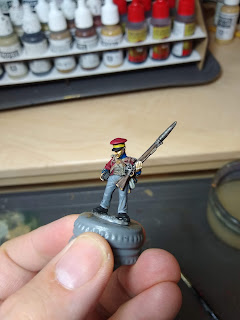
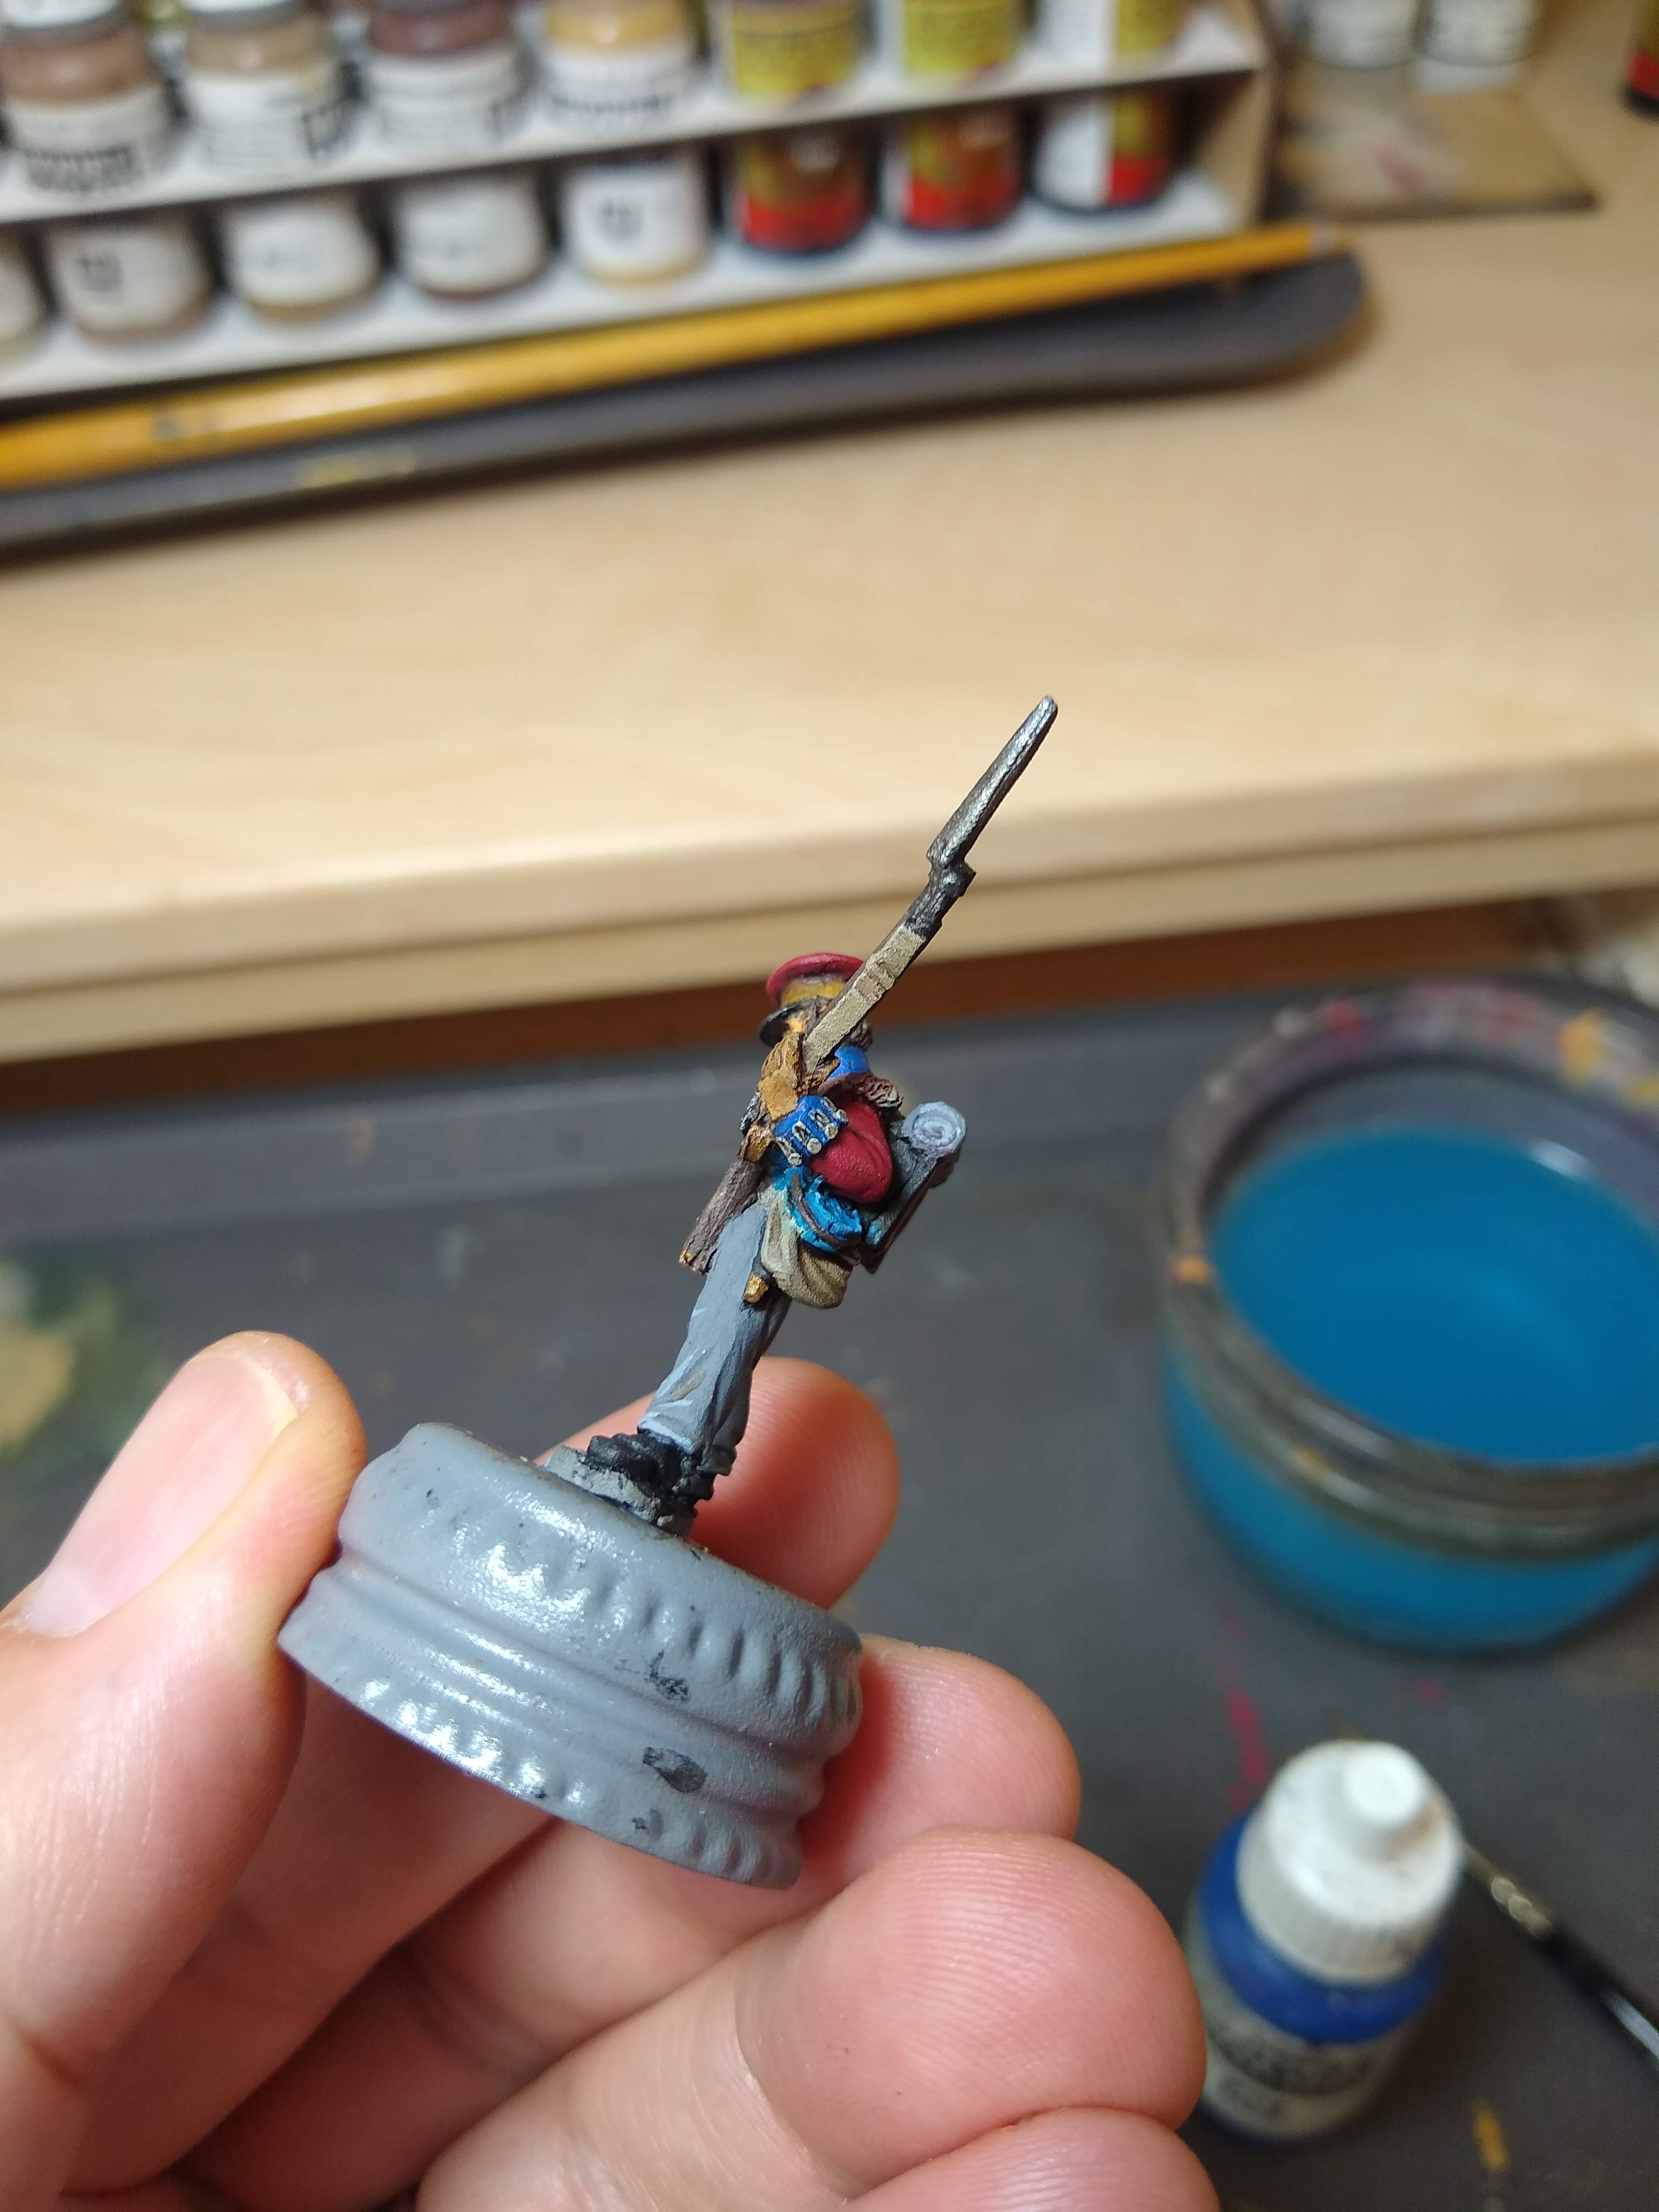
Highlight the peak of the cap and the bayonet scabbard.
Have another cup of tea |
 |
| Hopefully your timer has gone off and it's time to use the AP Flesh Wash |
 |
| Apply the wash, working it into the detail of the hands and the interface with the other colours. |
 |
| Wash the face |
 |
Don't forget to do the ears.
Give it 15 minutes to dry before proceeding |
 |
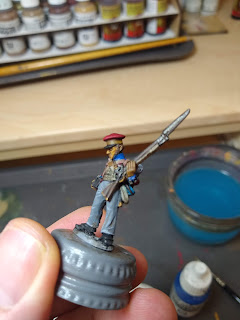
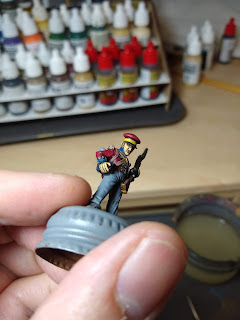
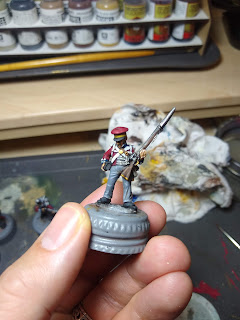
| It feels like we are on the home straight now, mix up some VMC Ivory |
 |
| Carefully paint in all the white areas with Ivory |
 |
| Try to leave a little of the original washed base-coat showing |
 |
| Very carefully paint around the rim of the collar and where possible the base of the collar |
 |
| I find the thinner the better on this step. |
 |
| Two or three thinned coats are better than a single thick one |
 |
| On the water bottle you want a broad arrow at the top, two lines (to look like text) and a single dot representing the company number at the bottom. |
 |
| Again here is the other chap to show the effect you are after |
 |
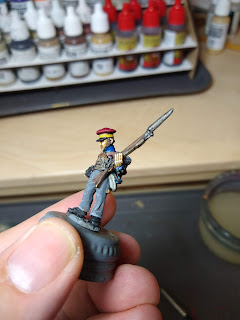
| Now thin down some VMC Gunmetal Grey |
 |
| Paint the bayonet |
 |
| Paint the flint lock |
 |
| Paint the musket barrel |
 |
| Thin down a little bit of VMC Sliver |
 |
| Paint some highlights on the bayonet |
 |
| You may also want to add a small highlight on the very end of the musket barrel |
 |
| Thin down some VMC Brass |
 |
| Highlight the musket butt and trigger guard |
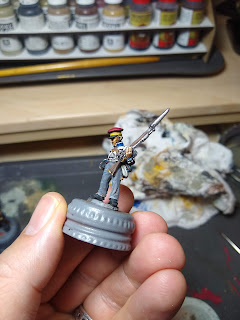 |
| Highlight the scabbard tip and chest plate |
 |
| Thin down some VMC US Field Drab |
 |
| Paint around the base of the figure |
 |
| This will make it easier to paint around them after I base them in groups |
 |
| Mix up a very thin mix of VMC Black Grey |
 |
| Use this to tidy up any scruffy edges on the figures |
 |
| I find it particularly useful for cleaning up around the piping on the collar |
 |
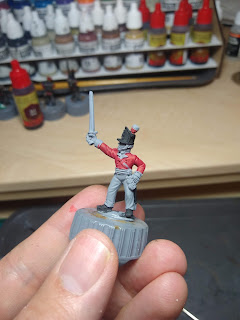
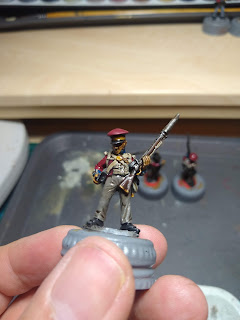
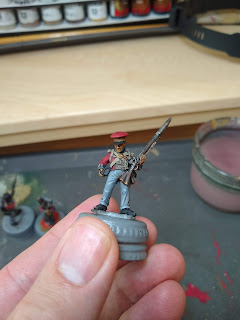
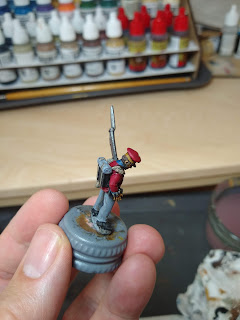
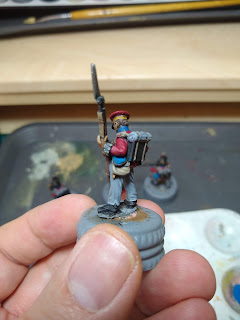
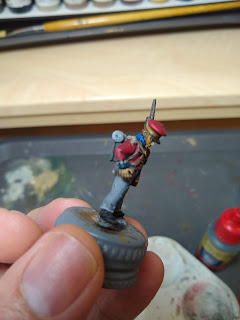
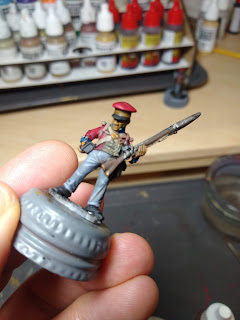
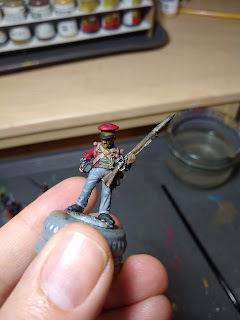
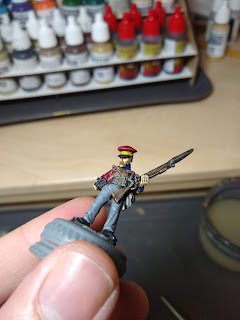
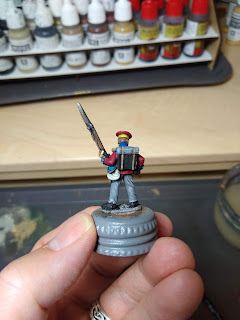
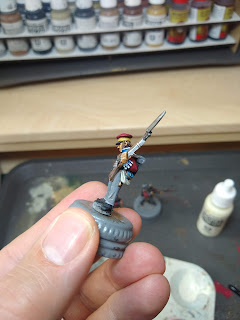
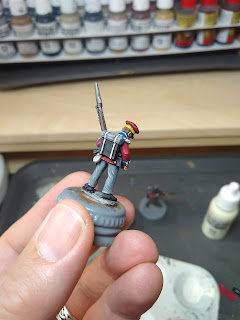
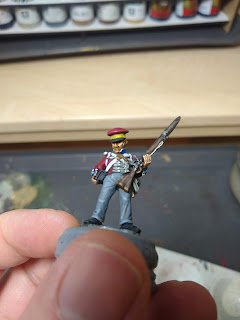
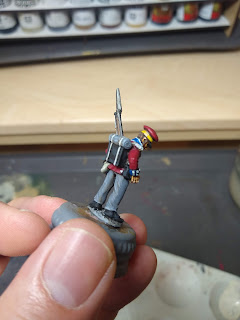
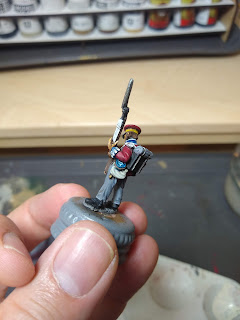
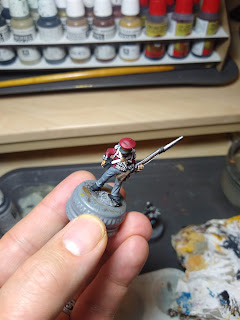
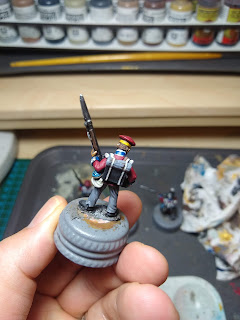
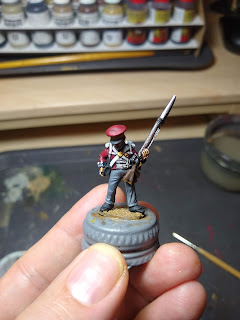
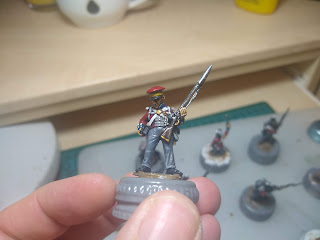
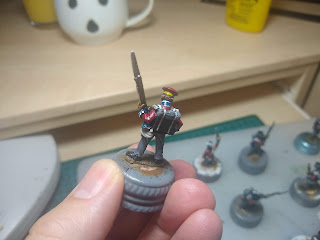
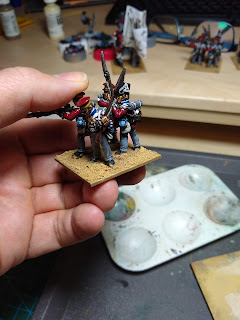
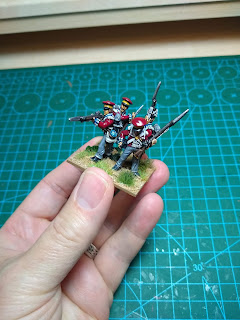
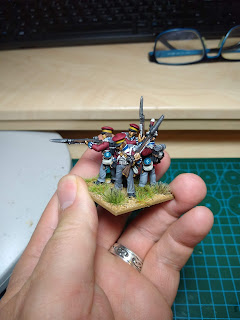
| I've mainly concentrated the tutorial on a figure in a Landwehr cap, here is a Stovepipe shako for comparison |
 |
| The base of the plume is just VMC Flat Red with AP Red Tone |
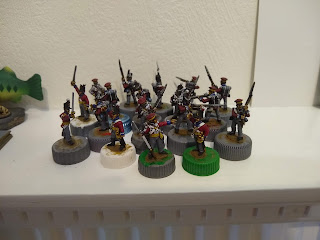 |
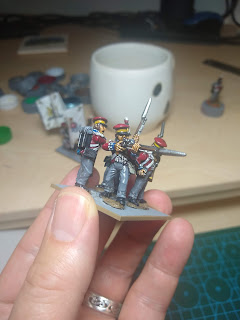
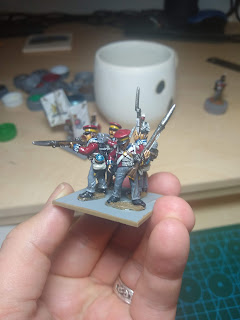
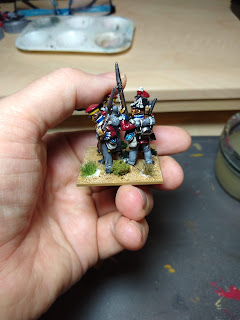
| After completing all five batches, I now have my figures ready for the next step |
 |
| A coat of Halfords Gloss Lacquer is applied |
 |
| Don't forget to wear a mask |
 |
| I prefer to use gloss for this step as I think it makes it easier to clean up any basing mistakes from a glossy surface. |
 |
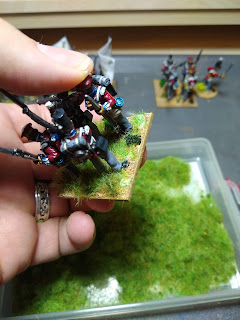
| I use Renedra 40mm square bases, I have already given them a spray of grey primer and painted around the edges with VMC Field Drab |
 |
| I make a note of where each figure will go and stick them down with Gorilla Superglue Gel |
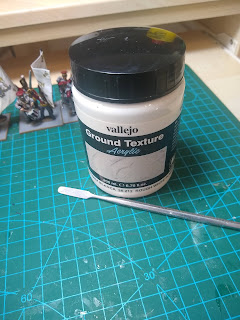 |
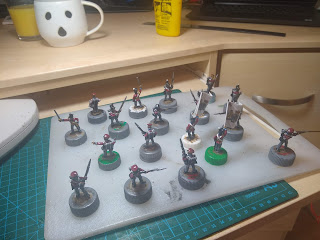
| The basing texture is applied with VMC Pumice Gel, I usually use the #599 neutral stuff but cannot seem to get that at the moment so am using the Rough White |
 |
| I apply with a modelling tool, try not to get any on the figures, if you do wipe it off with a bit of kitchen towel, this is where I really find the gloss finish helps. |
 |
| Leave the bases to harden overnight, then thin down some VMC US Field Drab |
 |
Using an old brush paint the entire base.
|
 |
Again you can clean any spillage off the figures with a bit of kitchen towel.
Set these aside to dry. |
 |
I use an old base for dry-brushing, and as you can see an even mankier old brush.
The first highlight is VMC Iraqi Sand |
 |
| Give the entire base a good dry-brush with the Iraqi Sand |
 |
| Try not to get any on the figures, although some staining on the shoes and bottom of the trousers can give them a in action look. |
 |
| The next layer on the bases is VMC Pale Sand |
 |
| Use this to give a lighter highlight on the bases |
 |
| I then tin down some VMC US Field Drab |
 |
| Paint around the edge of the base to clean up any stray dry-brush marks |
 |
| I set out a few AP tufts, usually I want about one, two or three on each base, don't over do it |
 |
| These are stuck on with Woodland Scenics glue |
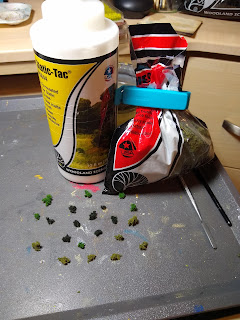 |
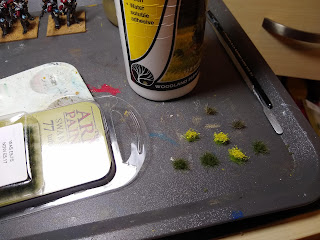
| I then sort about three or four Woodland Scenic bushes to go on each base, a mix of Olive, Forest and Medium Green |
 |
| These are also stuck on with the Woodland Scenic glue |
 |
| You'll get a feel for placement, I always try to get some of the bushes and tufts into the middle of the base. |
 |
| I've actually missed one of my usual steps out on these bases, after the pumice gel has dried I usually stick on some small clumps of gravel. |
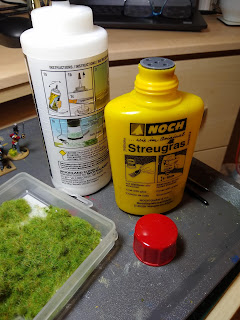 |
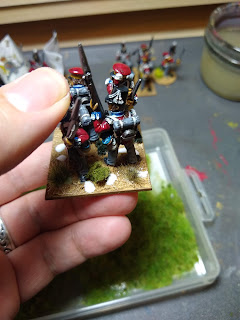
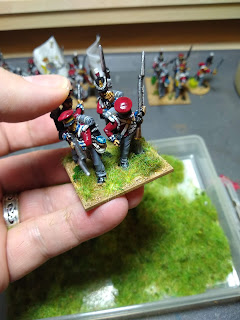
Leaving the tufts and bushes to dry for a while I now apply my static grass blend, it really is a blend and I'm not precious about any manufacturer, as it runs low more is added to the mix.
I use a Noch puffer bottle to apply the grass. |
 |
| I put small dots of Woodland Scenic glue around the base |
 |
| I try not to get too close to the edges, and definitely clean any up that you get on the figures |
 |
| Then, using the puffer bottle I blow the grass onto the base. |
 |
| I go around the base two or three times building up on each dot of glue |
 |
| Shake off any excess |
 |
| I then turn the base upside down and rap it with a ruler, I think this helps the grass to be more upright |
 |
| Getting pretty close to completion now! |
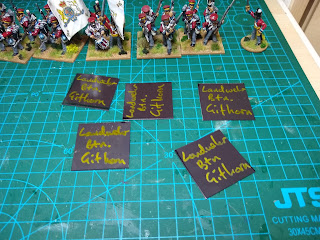 |
| I cut out squares of magnet slightly smaller than the bases and using a metallic marker note the unit names |
 |
| These are then stuck to the bottom of the bases |
 |
These are now ready for a coat of Matt Varnish.
For this I use Windsor & Newton Professional Matt Varnish, but that seems to be in very short supply of late |
 |
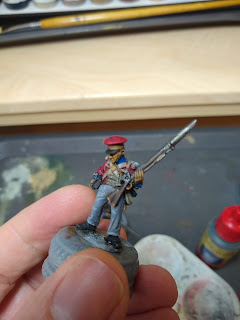
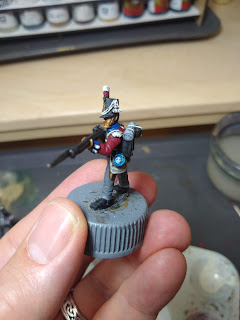
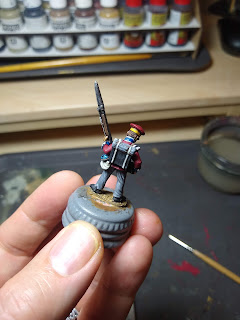
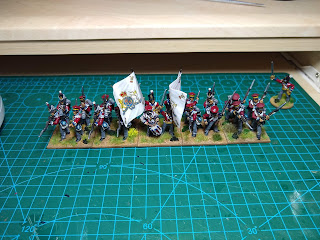
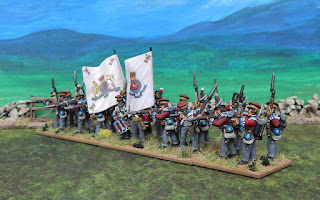
| Finished and ready for battle |
 |
|


Mate! This is epic, legendary stuff 😎 Really appreciate the detailed steps and photos. My Naps French came out well but I was struggling to get the British to look good, so this will be a big help.
ReplyDeleteYou deserve a 🏅
Cheers
Matt
Cheers Matt, looking forwards to seeing what you do with them
DeleteAlways interesting to see how others paint and base,a very thorough and impressive work in progress, thanks!
ReplyDeleteBest Iain
Thanks Iain, I've already started a similar post for the next contingent
DeleteAlways interesting to see how folk tackle their figures. On collars I find it easier to paint them white then fill in the facing colours after.
ReplyDeleteI can see how that would work. I think though it would irritate me to go back and do blues again after I've done the whites.
DeleteVery interesting and thanks for sharing
ReplyDeleteYou are welcome
DeleteSome excellent tips there Paul, a very concise and yet informative post.
ReplyDeleteThank you Phil, at 203 photo's I think it's likely my least concise post ever ;)
DeleteA splendid tutorial Paul..
ReplyDeleteI believe we can always learn something by seeing how others paint their toys…
All the best. Aly
Thank you Aly, I don't think I'm adding anything new to the oeuvre but maybe somebody will find it helpful, even if it's my future self in a few years time.
DeleteFabulous tutorial - great to see your process and colours. I really like the reds 👍
ReplyDeleteThank you
DeleteExcellent "How to", Paul. Wondered how you used to paint your red, they always look like they have a lot of depth, now I know why. Might have a go at the Halfords spray myself.
ReplyDeleteThank you Ray.
Delete