Copyright © 2011-2026, Paul Scrivens-Smith

Copyright © 2011-2026, Paul Scrivens-Smith

All rights reserved. This work may not be reproduced, in whole or in part, without the prior written permission of the creator.

Sunday, 11 November 2018

Hundred Years War: English (2)


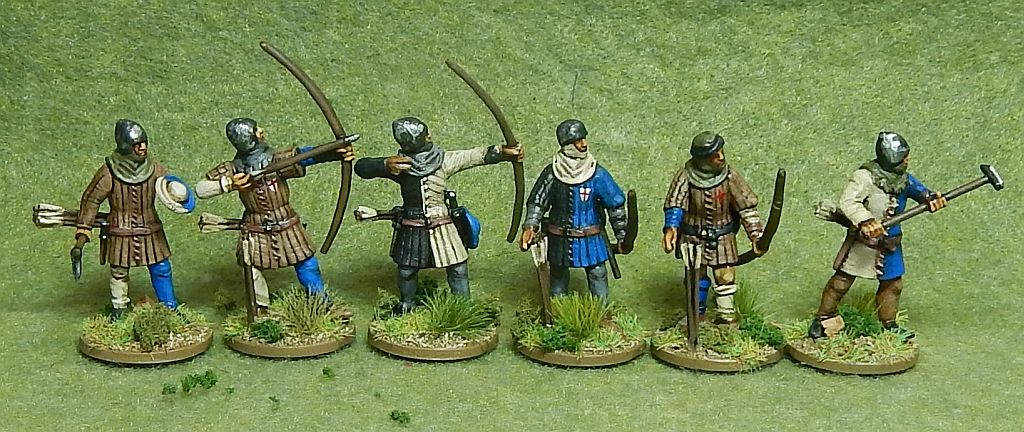
I've really been enjoying the break from painting ACW troops and these Perry Miniatures English Army 1415-1429 are lovely figures to paint. This week another dozen bowmen and the first few Men at Arms were finished.


The variety in these plastic Men at Arms allows for some great poses and some great scope for conversion. The figure on the right with the pick, the shaft broke while I was assembling, but was easily able to shorten it and put it back together


They were painted using my usual base-coat, wash and highlight, but I tested a new 'Secret Weapon' was that was handed out in the goody bag at Rockcon on these, it's a black wash rather than coloured so thought it would work better on the armour.


Another dozen archers were also completed, this time in a blue and white livery. A few of these were also marred with the primer accident that affected the last lot. But, I powered through and was able to hide most of it with the paint job. It probably shows up worse on the musician figure in this batch.


Another dozen archers are nearly finished and I should be able to post those soon.

American Civil War: Confederates (16)


I've finished off the last two Confederate cavalry that I had assembled, rather a rush job, but a good excuse to show the four sections of fence that I completed this week.

These are based on the ones that I photographed during my trip to the Bull Run battlefields back in July. I'm rather pleased with the results.


They are quite a simple build, small pebbles are glued onto a strip of mount board. Then a sheet of basswood is cut into approx 3" strips and these strips roughly separated into strips. Four A-frames are created over the pebbles and then the cross planks glued in.


The base was textured with fine sand then everything was primed with brown sprat paint. The stones were picked out in browns and greys, followed by a dry-brush The planks then done in Vallejo Beige Brown with an Iraqi Sand drybrush.


The base was then completed with tufts, scatter and static grass. Quite a simple build, although I regret using the basswood, I've already had a break and suspect more shall follow.


Tuesday, 6 November 2018

Sharp Practice at Rockcon


A couple of weeks ago I ran my 'Brisk Action at Hawkes Farm' Sharp Practice game at Rockcon, just down the road in Illinois.

I'd got a full sign up of six players with three Union commanders called Mike - that made things easy - and Scott, Terry and Brian leading the Confederates.


I'd divided the two sides into three forces each comprising a couple of commanders plus two to four units each. Each force was given a minor and a major objective to add a little extra role-play to the game.

Confederates

Red 1: Captain James Turnbull (Leader, Status III) leading three groups of eight infantry with rifled muskets.
Red 2: Sergeant Jake Woodward (Leader, Status I) leading a group of six skirmishers with rifled muskets

Major Objective: Lieutenant Carter is a cad and a bounder, without making it too obvious he should not survive this battle.
Minor Objective: You and Lieutenant Carter vie for the affections of Molly Golightly, if you were to suffer a minor wound, she would be sure to favour you.

Red 3: First Lieutenant Daniel Carter (Leader, Status II) leading two groups of eight infantry with rifled muskets
Red 4: Sergeant Elijah Barnes (Leader, Status I) leading a group of six skirmishers with rifled muskets, one of them is a ‘Cracker’

Major Objective: The cracker must enter the farmhouse at Hawkes Farm and pick the lock on the desk drawer and retrieve the cash (Task value 16)
Minor Objective: The cracker must survive the game.


Red 5: First Lieutenant Nathaniel Eppendorf (Leader, Status II) leading two groups of eight cavalry with mixed weapons
Red 6: Second Lieutenant Jonah Fish (Leader, Status I) leading a group of six skirmishers with rifled muskets.

Major Objective: Beat an enemy group or formation by at least ‘Defeated by 2’ with a mounted charge
Minor Objective: Perform a mounted charge

Union

Blue 1: Captain Horatio Jones (Leader, Status III) leading three groups of eight infantry with rifled muskets.
Blue 2: Sergeant Jebediah Hawkins (Leader, Status I) assisting

Major Objective: The colonel does not hold you in the esteem that you believe you should be, you need to burn the farm house and barn to the ground. Your men are equipped with tinder boxes and supplies to do this.
Minor Objective: If you are going to lose the game it would look better for you if you were incapacitated, if you lose the game and have been wounded this is a minor objective, not if you win.


Blue 3: First Lieutenant Francis Kennedy (Leader, Status II) leading two groups of eight infantry with rifled muskets
Blue 4: Second Lieutenant Pearson Blake (Leader, Status II) leading two groups of six skirmishers with rifled muskets

Major Objective: Chicken dinner tonight, secure three bases of chickens from Hawkes Farm
Minor Objective: Any chicken shall do, get at least one base of chickens from Hawkes Farm

Blue 5: First Lieutenant Gary Keller (Leader, Status II) leading two groups of eight cavalry with breech loading carbines.
Blue 6: Second Lieutenant Jonah Fish (Leader, Status I) assisting.

Major Objective: Cause any group or formation of Confederate horse to break and run either by fire or steel.
Minor Objective: Escort any civilians to safety.


All my players entered into the swing of things and although only two had played Sharp Practice before the game went rather smoothly.

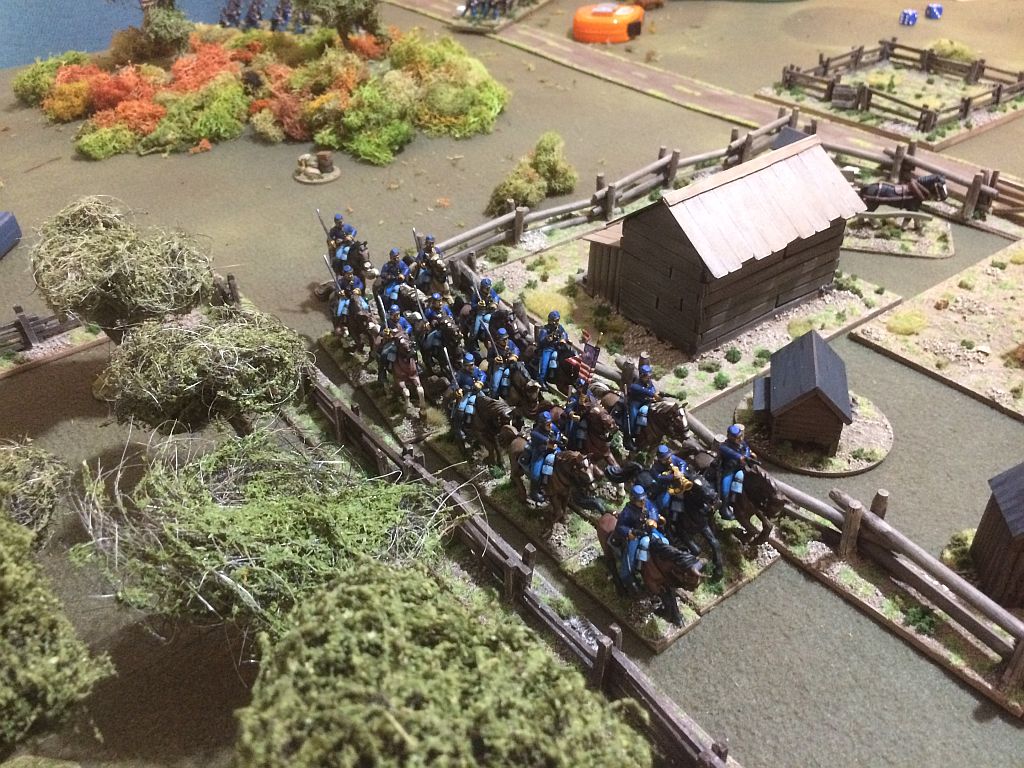
A brisk action did indeed take place at Hawkes Farm, Union troops occupied the farmyard, snaffling many chickens and Lieutenant Carters troopers ransacked the farmhouse stealing the cash.

In a sharp firefight in the centre the Confederate troops were getting advantage over Captain Jones troops who were rather outnumbered in that area, but the Union troops really dominated on the flanks.


Effective carbine fire saw the Confederate horse dismount and skedaddle for the cover of the orchard on that flank . While Union forces were pouring carbine and skirmisher fire into both flanks against the troops that had been overwhelming Captain Jones.


After about three hours it was time to wrap up the game, the Union forces had the slight edge in Force Morale while one of the Confederate commanders, Lieutenant Carter had achieved his major objective. On the Union side Captains Kennedy and Keller had achieved minor objectives.


I called a draw!

Everybody seemed to enjoy it and hopefully we shall have more recruits to Sharp Practice.


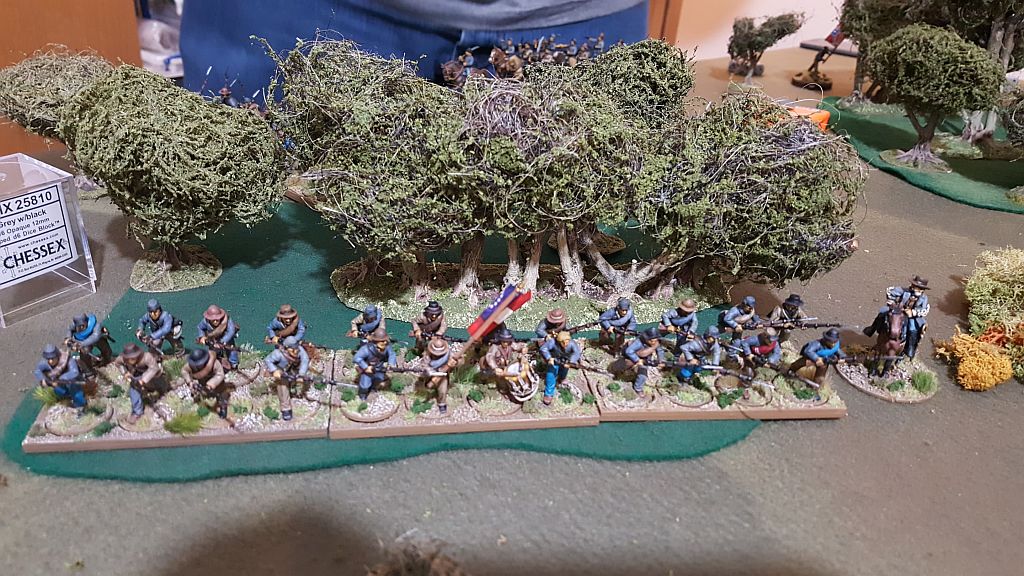
I do seem to have taken a lot of photos of the cavalry, here is one more of the infantry for you to enjoy.


Sunday, 4 November 2018

Hundred Years War: English (1)


Last Thursday was Agincourt Day and as it coincided with paint night at the Madison Tea & Crumpets Wargames Club meeting I thought it was only right that I should slap some paint on those Perry Miniatures Agincout English that I've been collecting and assembling for ages.


I gave them a coat of grey primer and with one batch I had a 'bollocks' moment. The bloody stuff clarted up and covered them in little lumps of crud. Being plastics I could not revert to the usual stick them in nail polish remover tactics so I gave them a scrub with a toothbrush* to get most of it off and then gave them a re-coat with some Rustoleum satin Nutmeg as a base-coat.

Calamity mostly avoided I then sorted out my first dozen English longbowmen with my usual, base-coat, wash and a couple of highlights method.

Here are some close-ups of the finished groups, another dozen are almost complete, another dozen started and some men at arms are also on the go. Made a nice change from all the ACW painted of late.


For this group I went with a red, white and black colour scheme, but with no consistent livery. Hopefully they hold together well without being identically uniformed.


The chap second from right was started by chum Drew on paint night, I finished him off and completed the highlights so he could go back to painting his ACW collection.


* You'll be thankful to know that I since binned the toothbrush.

American Civil War: Confederates (15)


This week I finished off the final four Confederate infantry from the last American Civil War Confederate Infantry box I bought, now out of Reb infantry to paint.

I've got three boxes of these done now, maybe time for a break and paint something else for a while.

Photos are a bit shonky.


Sunday, 21 October 2018

A bloody action at Mirror Lake


Thursday evening we convened for another game of Sharp Practice using my ACW collection. Bruce and I played the Union troops while Drew and Seth again played the Confederates.

The forces were based upon last weeks game but with a few more troops for the Union as we played the Attack on an Objective scenario.


 The table was laid out as the photo above with a farm and orchard on on flank and woods, boggy ground and rolling hills covering the rest. The objective would be in the top right corner,


Wary of the Confederate cannon the Union tried to push to the left through the woodlands, but deft use of three 'four command card' activations pushed their cavalry down the right flank to allow them to dismount and form up on the Confederate right flank.


The Confederate horse were much less subtle and made a gambit to grab ground in the centre. Union skirmishers deployed into the farm from their secondary deployment point and soon the Confederate cavalrymen started to suffer. Eventually their leader was wounded and they had amassed enough shock to see them breaking for the rear.

The Union force advanced under a steady and accurate fire from the Confederate Napoleon which eventually forced back the right hand end of the Union line. Both forces created their firing lines and some brisk volleys ensued.


It was pretty much settled though when the Major commanding the Union forces was shot from his saddle, although the game ended with both forces on Force Morale 3 the absence of the senior leader made it much harder for the Union forces to control the shock taken in the firefight.

We declared a minor victory to the Confederacy as they still held the objective.

More photos from the game, again thanks for Drew for taking the additional shots.


Sunday, 14 October 2018

A brisk action at Deer Creek

Sergeant Gallard and his section attempt to hold up the strong Confederate push on their right

Thursday evening saw Bruce, Drew, Seth and myself convene at Scrivsland to play some Sharp Practice with my American Civil War collection.

I've now got quite a lot painted - and even more finished since this game - so we can now play some quite large battles. Before the chaps arrived I picked a couple of evenly matched forces from the later period in the war:

Confederates - Drew and Seth:
  • Captain James Turnbull (III) leading three groups of eight infantry with rifled muskets.
  • First Lieutenant Gregory La Vert (II) leading two groups of eight infantry with rifled muskets.
  • First Lieutenant Daniel Carter (II) leading two groups of eight infantry with rifled muskets.
  • Second Lieutenant Dominic Harris (I) leading a group of six skirmishers with rifled muskets.
  • Corporal Nathaniel Jefferson (I) leading a group of six skirmishers with rifled muskets.
  • Second Lieutenant Harvey Greene (I) leading a group of eight cavalry with pistols and shotguns.
  • Sergeant Elijah Barnes (1) commanding a medium gun with five crew.

Along the Confederate lines

Union - Bruce and myself: 
  • Captain Stanley Parsons (III) leading three groups of eight infantry with rifled muskets.
  • Second Lieutenant Ross Drucker (I) assisting the captain.
  • First Lieutenant Howard Van Klassen (II) leading three groups of eight infantry with rifled muskets.
  • Sergeant Eugene Naler (I) assisting the lieutenant.
  • First Lieutenant Thaddeus Thaler (II) leading two groups of eight cavalry with breach loading carbines.
  • Sergeant Thomas Gallard (I) leading a group of six skirmishers with rifled muskets.

The Union troops also were bolstered by a mule train, a musician and a secondary deployment point.

Via a risky coup de main Lt. Thaler and his horse seize the high ground on the Confederate right

The table was set up fairly open with some scrubby hills, sparse woodlands and marshes. On one flank was a farm where the Union troops had set up a field hospital and on the other a fenced orchard. In the photo below the Union deployment points were top right and the Confederate deployment point was bottom left.

The battle after after several turns
It was clear from the initial deployment points that the battlefield would end up a diagonal affair slashing across the centre of the table. The Confederates rushed skirmishers supported by their artillery up their left flank. 

Lieutenant Dominic Harris and his section get emplaced in some marshy ground.
 The Union troops deployed to try to form a firing line in the centre, the main force under the captain formed an open column then skirted a scrubby knoll to form up on the left flank.

Captain Parsons and Lieutenant Drucker swing wide on the Union left.

While the Confederates shook out their line the Union horse rushed up at the trot to take position on the hillock on the Confederate right

Union troops in column make rapid advances on their left

The Union right was quite outnumbered so Sergeant Gallard and his troops were moved into the field hospital to help shore up the right flank of Lieutenant Howard Van Klassen.

Lieutenant Howard Van Klassen's line is formed on the Union right
Sergeant Gallard and his section fall back in the face of withering fire

Initially the Union troops gained an advantage on their right, driving off the Confederate skirmishers under Lieutenant Harris, but the Rebel artillery fire started to sway the battle towards the Confederates on that flank. The Union skirmishers in the farm also gave ground in the face of the fire coming from their opposite numbers.

Lieutenant Van Klassen's left is driven back by the concerted artillery fire.
 On the Union left they were taking their advantage, while the Union cavalry dismounted and poured accurate and withering carbine fire into the Confederate left the main force under Captain Parsons shook out into line and started exchanging volleys with the Rebels under Captain Turnbull facing them. The Rebels had the advantage of deploying in the edge of the woods, but the Union troops had the superior controlled volleys.

Captain Parsons' troops form a steady line.
 On our right the wight of fire began to tell, the left-hand group of the formation was forced back in some disorder by the artillery file, and Van Klassen had been struck, not fatally, but sufficient to cause some consternation.

The main body on the Union right is in some difficulties

The Union horse were ensconced on the hillock and despite Thaler being hit were overwhelming their opposite numbers with volley after volley of accurate carbine fire, the battle was finely in the balance, whose left flank would crack first?

Lieutenant Thaler and the Union horse have a strong position on the Confederate right flank

Unfortunately, we would not get to find out, it was well past 11PM and time to wrap up. Maybe, having not played for quite some time we had too many troops on the table and spent far too long gassing beforehand.

Would the Union right collapse before the Confederate right?
Thanks to Drew for some of the photos used in this report.

More images from the game.

Union troops in column

Driving off the Confederates with steady, accurate fire.

Your author contemplates another beer!
 
The main body of Confederate infantry